If you’re a chocolate enthusiast searching for the perfect dessert, look no further than these Death by Chocolate No-Bake Cheesecake Bars. Decadent and rich, these bars feature layers of luscious chocolate flavor, making them a dream come true for anyone with a sweet tooth. Whether you’re planning a special occasion, a holiday gathering, or simply treating yourself, this no-bake cheesecake is sure to impress.
Ingredients:
For the Crust:
2 1/2 cups Oreo cookie crumbs (about 28 Oreos)
1/2 cup unsalted butter, melted
For the Filling:
16 oz cream cheese, softened
1/2 cup granulated sugar
1 teaspoon vanilla extract
2 cups heavy whipping cream
1 1/2 cups semi-sweet chocolate chips, melted and slightly cooled
For the Topping:
1/2 cup mini chocolate chips
1/4 cup chocolate shavings (optional)
Directions:
Prepare the Crust: Line a 9×9-inch baking pan with parchment paper for easy removal. In a medium bowl, mix together the Oreo cookie crumbs and melted butter until the mixture resembles wet sand. Press this crumb mixture evenly into the bottom of the prepared pan. Place the crust in the freezer to set while you make the filling.
Make the Filling: In a large bowl, beat the softened cream cheese, granulated sugar, and vanilla extract until smooth and creamy. In a separate bowl, whip the heavy cream until stiff peaks form. Gradually fold the whipped cream into the cream cheese mixture until well combined. Finally, add the melted chocolate, continuing to fold until everything is smooth and fully incorporated.
Assemble the Bars: Spread the chocolate cheesecake filling evenly over the chilled Oreo crust. Top with mini chocolate chips and, if desired, chocolate shavings for an elegant touch.
Chill: Cover the pan and refrigerate for at least 4 hours, or until set. For the best texture and flavor, refrigerate overnight.
Serve: Once the bars are set, slice them into squares and serve chilled. Enjoy the rich, creamy texture and intense chocolate flavor!
Serving Tips:
Chill Before Serving: Ensure the cheesecake bars are thoroughly chilled and set before serving. This helps achieve a clean slice when cutting.
Use a Sharp Knife: For neat slices, use a sharp knife. Wipe the knife with a damp cloth between cuts to keep the edges clean.
Garnish Creatively: Enhance the presentation by adding extra toppings such as whipped cream, fresh berries, or a drizzle of chocolate sauce.
Plate Presentation: Serve the bars on a decorative platter. You can also add a sprinkle of cocoa powder or chocolate shavings around the edges for an elegant touch.
Pair with Beverages: These rich bars pair wonderfully with coffee, tea, or a glass of cold milk, complementing the chocolate flavor perfectly.
Storage Tips:
Refrigerate Leftovers: Store any leftover cheesecake bars in an airtight container in the refrigerator. They will stay fresh for up to 5 days.
Freeze for Longer Storage: If you want to keep the bars for an extended period, you can freeze them. Wrap individual slices in plastic wrap and then place them in a freezer-safe container. They can be frozen for up to 3 months.
Thawing: To thaw frozen cheesecake bars, transfer them to the refrigerator for several hours or overnight. Avoid thawing at room temperature, as this can lead to a change in texture.
Avoid Freezer Burn: When storing in the freezer, ensure the bars are well-wrapped to prevent freezer burn and maintain their quality.
Serve from Frozen: If you enjoy a firmer texture, you can serve the bars directly from the freezer, but let them sit for a few minutes at room temperature to soften slightly before slicing.
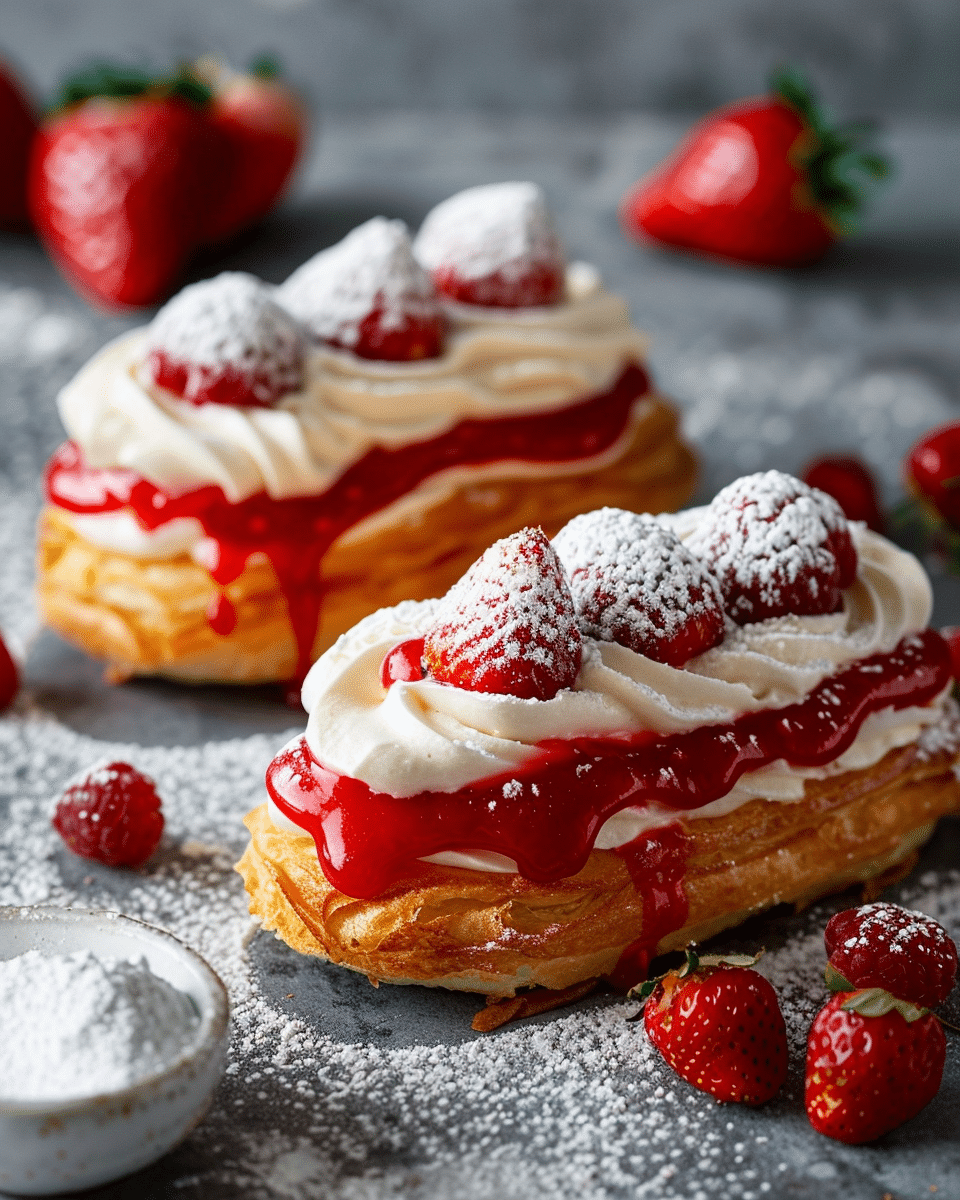
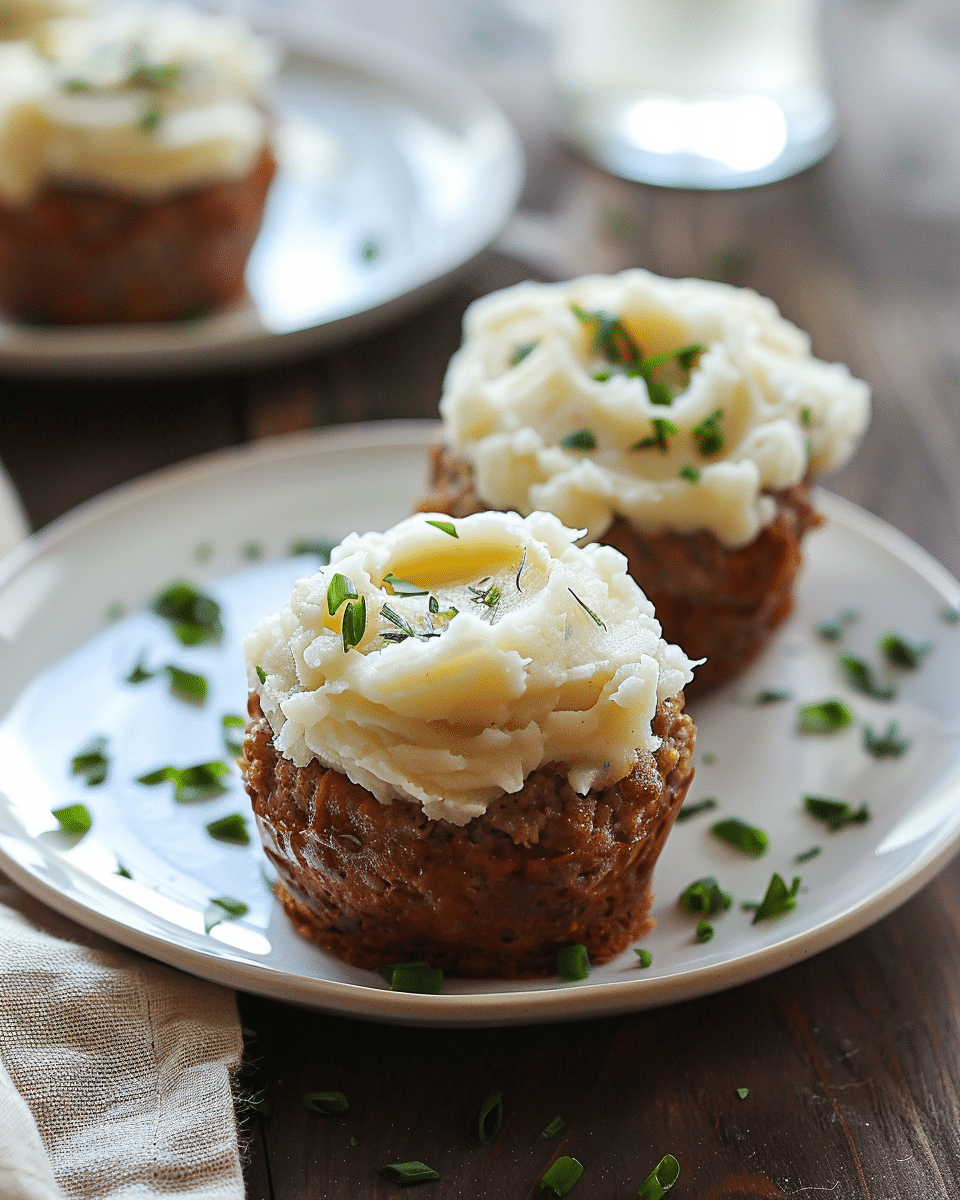
Related Recipes:
FAQs:
Can I use different types of cookies for the crust?
Yes! While Oreos are traditional for this recipe, you can experiment with other cookies such as chocolate graham crackers, chocolate wafer cookies, or even gluten-free options. Just make sure to adjust the quantity to achieve the same amount of crumbs needed for the crust.
How can I make this dessert lighter or healthier?
To make a lighter version of these cheesecake bars, consider using reduced-fat cream cheese and light whipped cream. You can also substitute some of the sugar with a sugar alternative like Stevia or erythritol. Keep in mind that the texture and taste may vary slightly, but you’ll still get a delicious dessert!
Can I make this dessert ahead of time?
Absolutely! These cheesecake bars can be made ahead of time and stored in the refrigerator for up to 5 days or frozen for up to 3 months. They are perfect for preparing in advance for parties or special occasions. Just ensure they are tightly covered to maintain freshness.
Conclusion:
These Death by Chocolate No-Bake Cheesecake Bars are a crowd-pleaser at birthday parties, holiday celebrations, or as a sweet ending to a family dinner. Their indulgent flavor and creamy texture make them a standout dessert that will have everyone coming back for more.
📖 Recipe:
Print
Death by Chocolate No-Bake Cheesecake Bars
- Total Time: 4 hours 15 minutes (including chilling)
- Yield: 12 servings
- Diet: Vegetarian
Description
Indulge in Death by Chocolate No-Bake Cheesecake Bars, a decadent dessert that combines layers of creamy chocolate filling with a crunchy Oreo crust. Perfect for chocolate lovers, these easy-to-make bars require no baking and are ideal for any occasion. With rich flavors and an elegant presentation, this dessert will surely impress family and friends.
Ingredients
For the Crust:
2 1/2 cups Oreo cookie crumbs (about 28 Oreos)
1/2 cup unsalted butter, melted
For the Filling:
16 oz cream cheese, softened
1/2 cup granulated sugar
1 teaspoon vanilla extract
2 cups heavy whipping cream
1 1/2 cups semi-sweet chocolate chips, melted and slightly cooled
For the Topping:
1/2 cup mini chocolate chips
1/4 cup chocolate shavings (optional)
Instructions
- Prepare the Crust: Line a 9×9-inch baking pan with parchment paper. In a medium bowl, combine Oreo cookie crumbs and melted butter. Press the mixture into the bottom of the prepared pan and freeze to set.
- Make the Filling: Beat softened cream cheese, sugar, and vanilla extract until smooth. In another bowl, whip heavy cream until stiff peaks form. Fold the whipped cream into the cream cheese mixture, then add the melted chocolate and mix until smooth.
- Assemble the Bars: Spread the filling evenly over the crust. Top with mini chocolate chips and optional chocolate shavings.
- Chill: Cover and refrigerate for at least 4 hours or overnight for best results.
- Serve: Slice and serve chilled.
Notes
For best results, use high-quality chocolate.
Allow cream cheese to soften at room temperature before mixing.
Bars can be stored in the refrigerator for up to 5 days or frozen for up to 3 months.
- Prep Time: 15 minutes
- Category: Dessert
- Method: No-Bake
- Cuisine: American
Nutrition
- Serving Size: 12 servings
- Calories: 480 kcal per serving