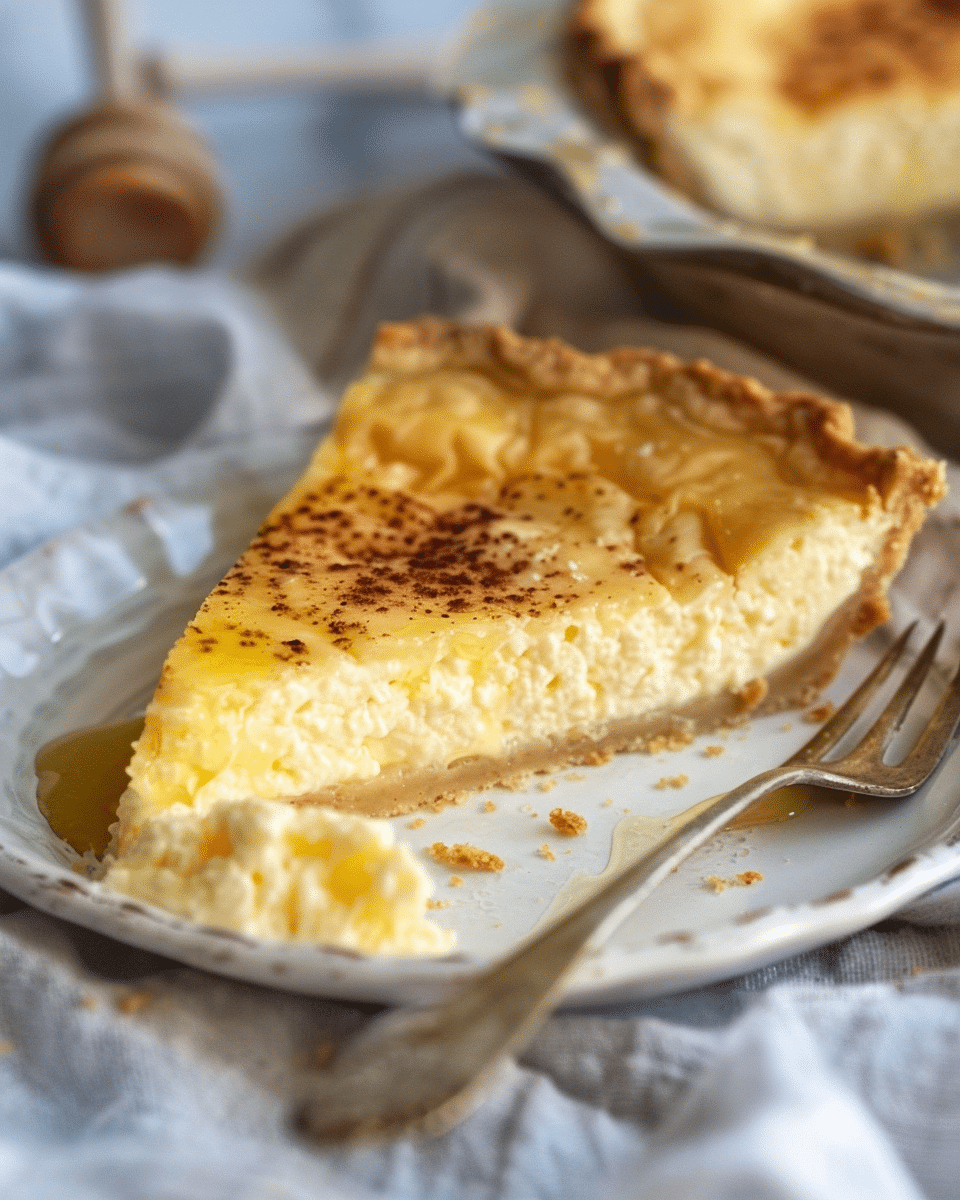
Discover the rich, nostalgic flavors of Grandma’s Chocolate Pie. This delectable dessert features a smooth, custard-like chocolate filling nestled in a pre-baked pie shell, perfect for any occasion. With its simple ingredients and easy-to-follow steps, it’s no wonder this pie has been a beloved family favorite for generations.
Ingredients:
½ cup cocoa
¼ cup cornstarch
3 egg yolks, beaten
1 ½ cups sugar
¼ teaspoon salt
2 cups milk
1 teaspoon vanilla extract
1 pre-baked pie shell
Directions:
Mix the Ingredients:
In a medium pot, combine the cocoa, cornstarch, beaten egg yolks, sugar, salt, and vanilla extract. Gradually whisk in the milk, ensuring no lumps form.
Cook the Filling:
Place the pot over medium-high heat. Stir the mixture constantly until it thickens and becomes smooth, which should take about 8-10 minutes. Be patient and keep stirring to achieve a silky texture.
Assemble the Pie:
Pour the thickened chocolate custard into the pre-baked pie shell. Smooth the top with a spatula and let it cool slightly before refrigerating.
Chill and Serve:
Refrigerate the pie for 2-3 hours, or until fully set. Once chilled, slice and enjoy this classic dessert!
Serving Tips:
Chill Thoroughly: Ensure the pie is well-chilled before serving. It should be set and firm, which makes slicing cleaner and more visually appealing.
Garnish for Elegance: Enhance the pie with a dollop of whipped cream or a sprinkle of shaved chocolate for an extra touch of indulgence. Fresh berries or a drizzle of caramel can also complement the rich chocolate flavor.
Serve with Coffee or Milk: Pairing the pie with a cup of coffee or a glass of cold milk can balance the sweetness and add a comforting touch.
Use a Pie Server: For neat slices, use a pie server or a spatula to carefully lift each slice from the pie shell.
Storage Tips:
Refrigeration: Store the pie in the refrigerator to keep it fresh and prevent the filling from becoming too soft. Cover it with plastic wrap or aluminum foil to avoid absorbing any other flavors from the fridge.
Keep Covered: To maintain the pie’s texture and prevent it from drying out or forming a skin on top, always cover it when storing.
Enjoy Within 4 Days: For the best taste and texture, enjoy the pie within 3-4 days of making it. Over time, the filling might lose some of its creaminess.
Freeze for Longer Storage: If you need to store the pie for an extended period, it can be frozen. Wrap it tightly in plastic wrap and then in aluminum foil. To serve, thaw it in the refrigerator for several hours before enjoying.
Related Recipes:
FAQs:
Conclusion:
Grandma’s Chocolate Pie is more than just a dessert; it’s a slice of nostalgia. The combination of cocoa, egg yolks, and vanilla creates a velvety custard that’s rich yet not overwhelming. Whether it’s a family gathering, a holiday celebration, or just a sweet treat to end the day, this pie is sure to impress. Its simplicity and classic flavors make it a standout in any dessert lineup.
📖 Recipe:
Print
Grandma’s Chocolate Pie
- Total Time: 2 hours 20 minutes (includes chilling time)
- Yield: 8 slices
- Diet: Vegetarian
Description
Grandma’s Chocolate Pie is a classic dessert that delivers rich, silky chocolate flavor with a smooth custard-like filling. Made with simple ingredients, this pie is perfect for any occasion, whether it’s a family gathering or a special treat. Easy to prepare and absolutely delicious, it’s sure to become a favorite in your dessert repertoire.
Ingredients
½ cup cocoa
¼ cup cornstarch
3 egg yolks, beaten
1 ½ cups sugar
¼ teaspoon salt
2 cups milk
1 teaspoon vanilla extract
1 pre-baked pie shell
Instructions
- Mix the Ingredients: In a medium pot, combine cocoa, cornstarch, beaten egg yolks, sugar, salt, and vanilla extract. Gradually whisk in the milk, ensuring no lumps form.
- Cook the Filling: Cook over medium-high heat, stirring constantly, until the mixture thickens and becomes smooth, about 8-10 minutes.
- Assemble the Pie: Pour the thickened chocolate mixture into the pre-baked pie shell. Smooth the top and let it cool slightly.
- Chill and Serve: Refrigerate the pie for 2-3 hours, or until fully set. Slice and serve chilled.
Notes
For a richer flavor, consider adding a dollop of whipped cream or a sprinkle of shaved chocolate on top before serving.
The pie can be made a day in advance and stored in the refrigerator.
- Prep Time: 10 minutes
- Cook Time: 10 minutes
- Category: Dessert
- Method: Stovetop, Chilling
- Cuisine: American
Nutrition
- Serving Size: 8 slices
- Calories: 320 kcal per slice


