
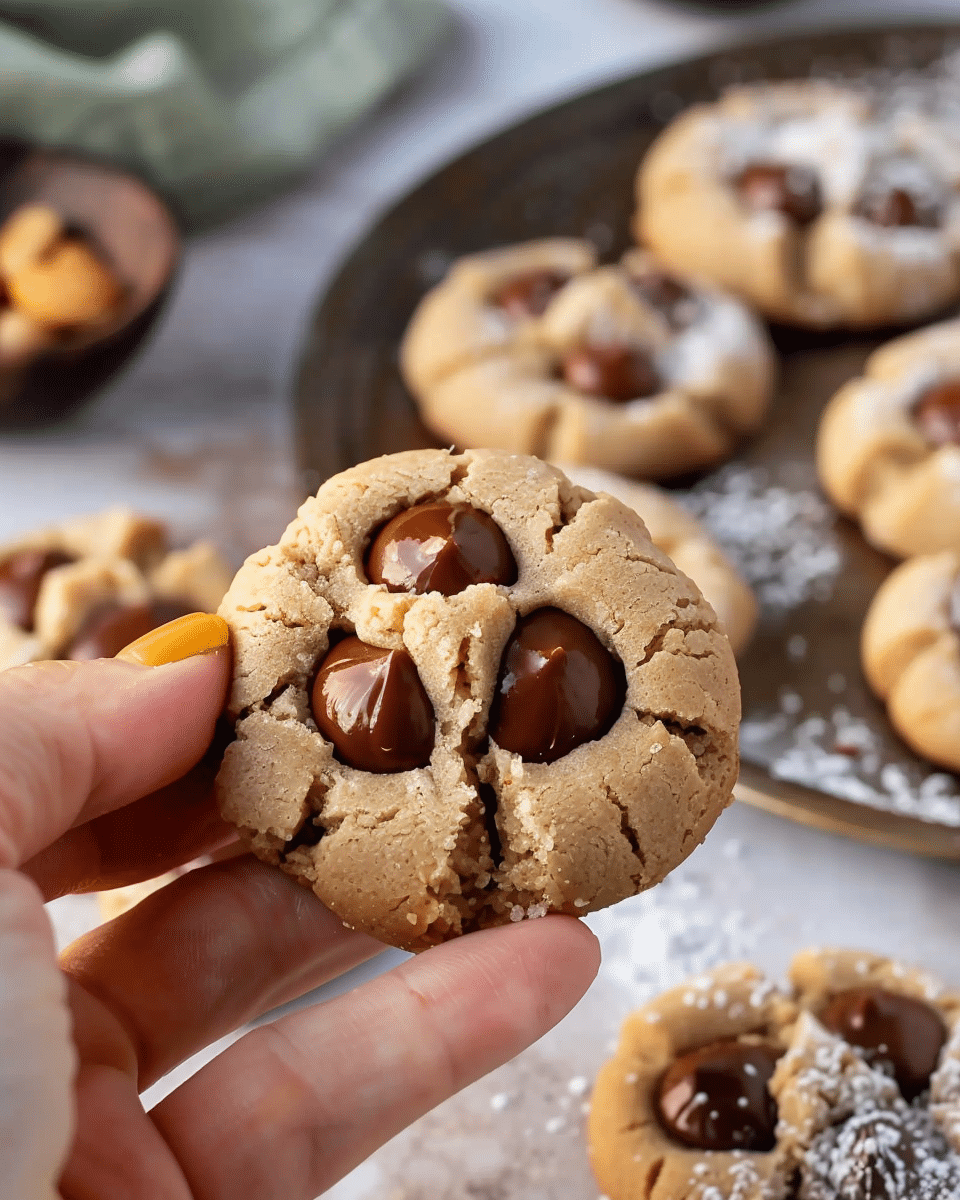
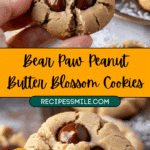
If you’re looking to add a playful touch to your holiday baking or themed parties, these Bear Paw Peanut Butter Blossom Cookies are a delightful choice. With their adorable bear paw shape and delicious peanut butter flavor, they bring a fun twist to the traditional peanut butter blossoms. These cookies are not only a treat for the taste buds but also a visual delight that will impress your family and friends.
Ingredients:
For the Cookies:
1/2 cup butter, softened
1 cup creamy peanut butter
1 cup granulated sugar
1/2 cup light brown sugar, packed
2 large eggs
1/2 teaspoon vanilla extract
2 cups all-purpose flour
2 teaspoons baking soda
1/2 teaspoon salt
For the Decoration:
48 chocolate melting disks
144 chocolate chips
Directions:
Preheat the Oven: Set your oven to 350°F (175°C) and prepare your baking sheets by lining them with parchment paper.
Mix the Cookie Dough: In a large bowl, use an electric mixer to beat together the softened butter, creamy peanut butter, granulated sugar, and light brown sugar until the mixture is smooth and creamy. Add in the eggs and vanilla extract, mixing until well combined.
Combine Dry Ingredients: In a separate bowl, whisk together the all-purpose flour, baking soda, and salt. Gradually add these dry ingredients to the peanut butter mixture, mixing until the dough is just combined.
Shape and Bake: Scoop rounded tablespoons of dough and place them onto the prepared baking sheets, spacing them about 2 inches apart. If you like, roll the dough balls in additional granulated sugar before baking. Bake in the preheated oven for 7-9 minutes, or until the cookies are puffy and soft.
Decorate: Immediately after removing the cookies from the oven, press a chocolate melting disk into the center of each cookie. Add three chocolate chips around the disk to create a bear paw print. Allow the cookies to cool on wire racks.
Serving Tips:
Presentation: Arrange these adorable cookies on a festive platter or in a cookie jar to highlight their cute bear paw design. They make a charming addition to any holiday spread or themed party table.
Pairing: These cookies pair beautifully with a glass of cold milk, a cup of hot cocoa, or even a warm cup of coffee. Their rich peanut butter flavor complements these beverages perfectly.
Gifting: Pack the cookies in a decorative tin or box lined with parchment paper for a thoughtful homemade gift. They are a great option for cookie exchanges or holiday presents.
Temperature: Serve the cookies at room temperature for the best flavor and texture. If you prefer them warm, you can briefly reheat them in the oven at 350°F (175°C) for a few minutes.
Storage Tips:
Room Temperature: Store the cookies in an airtight container at room temperature. They will stay fresh for up to one week. Be sure to separate layers with parchment paper to prevent the cookies from sticking together.
Freezing: For longer storage, you can freeze the cookies. Place them in a single layer on a baking sheet to freeze initially. Once frozen, transfer them to an airtight container or freezer bag. They can be kept in the freezer for up to 3 months.
Thawing: When ready to enjoy, thaw the cookies at room temperature for a few hours. If you prefer them warm, you can reheat them in the oven as mentioned earlier.
Avoid Overlapping: If you’re stacking cookies for storage, ensure there’s parchment paper or wax paper between layers to prevent the chocolate decorations from smudging.
Related Recipes:
- My Favorite Peanut Butter Cookies
- Peanut Butter Paw Print Cookies
- White Chocolate Peanut Butter Cheesecake
FAQs:
Conclusion:
These Bear Paw Peanut Butter Blossom Cookies are perfect for holiday gatherings, birthday parties, or any event where you want to add a touch of whimsy. Their rich peanut butter flavor and playful appearance are sure to make them a hit with both kids and adults. Enjoy baking and sharing these delightful treats!
📖 Recipe:
Print
Bear Paw Peanut Butter Blossom Cookies
- Total Time: 24 minutes
- Yield: 48 cookies
- Diet: Vegetarian
Description
Discover a fun twist on a classic favorite with these Bear Paw Peanut Butter Blossom Cookies! Perfect for holiday baking or themed parties, these cookies are shaped like adorable bear paws and topped with chocolate accents for a delightful treat. Easy to make and irresistibly delicious, they’ll become a hit with both kids and adults alike.
Ingredients
For the Cookies:
1/2 cup butter, softened
1 cup creamy peanut butter
1 cup granulated sugar
1/2 cup light brown sugar, packed
2 large eggs
1/2 teaspoon vanilla extract
2 cups all-purpose flour
2 teaspoons baking soda
1/2 teaspoon salt
For the Decoration:
48 chocolate melting disks
144 chocolate chips
Instructions
- Preheat Oven: Preheat your oven to 350°F (175°C). Line baking sheets with parchment paper.
- Prepare Dough: In a large bowl, beat together the butter, peanut butter, granulated sugar, and brown sugar until smooth and creamy. Mix in eggs and vanilla until well combined.
- Combine Dry Ingredients: In a separate bowl, whisk together the flour, baking soda, and salt. Gradually add to the peanut butter mixture, mixing until just combined.
- Shape and Bake: Scoop rounded tablespoons of dough onto the prepared baking sheets, spacing them about 2 inches apart. Optionally, roll in extra sugar before baking. Bake for 7-9 minutes until puffy and soft.
- Decorate: Immediately after baking, press a chocolate disk into the center of each cookie and add three chocolate chips to form a paw print. Cool on wire racks.
Notes
Cookie Dough Storage: You can refrigerate the dough for up to 3 days or freeze it for up to 3 months. Bake from frozen, adding extra time if needed.
Chocolate Substitutes: If chocolate melting disks are unavailable, use chocolate chips or chopped chocolate instead.
Avoid Overbaking: The cookies should be soft in the center when removed from the oven. They will firm up as they cool.
- Prep Time: 15 minutes
- Cook Time: 9 minutes
- Category: Dessert, Cookies
- Method: Baking
- Cuisine: American
Nutrition
- Serving Size: 48 cookies
- Calories: 133 kcal


