Are you ready to embark on a culinary adventure that combines the lusciousness of blue velvet brownies with the irresistible allure of Oreo truffles? Look no further than our recipe for Blue Velvet Oreo Brownies! With layers of rich flavors and textures, this dessert promises to tantalize your taste buds and leave you craving for more.
Ingredients:
Blue Velvet Brownies:
1 4-oz. bittersweet chocolate bar, chopped
¾ cup butter
2 cups sugar
1 ½ cups all-purpose flour
4 large eggs
1 ½ tsp baking powder
1 tsp vanilla extract
⅛ tsp salt
1 tbsp Wilton royal blue gel food coloring
A dab of Wilton violet gel food coloring
Oreo Truffle Layer:
1 package Oreos
8 oz cream cheese
White Chocolate Layer:
10 oz white chocolate bark or chips
Mini chocolate chips for garnish
Directions:
Blue Velvet Brownies:
- Preheat the oven to 350°F and grease your baking pan.
- In a heatproof bowl, melt the chopped chocolate and butter together. Once melted, blend in both the royal blue and violet gel food colorings until you achieve a deep blue hue.
- Whisk in the sugar until well combined.
- Add the eggs one at a time, mixing well after each addition.
- Fold in the flour, baking powder, vanilla extract, and salt until just combined.
- Pour the batter into the prepared pan and spread it evenly.
- Bake for 44-48 minutes, or until a toothpick inserted into the center comes out with a few moist crumbs.
- Allow the brownies to cool completely in the pan before proceeding to the next step.
Oreo Truffle Layer:
- In a food processor or blender, crush the Oreos into fine crumbs.
- In a mixing bowl, combine the crushed Oreos with softened cream cheese until well mixed.
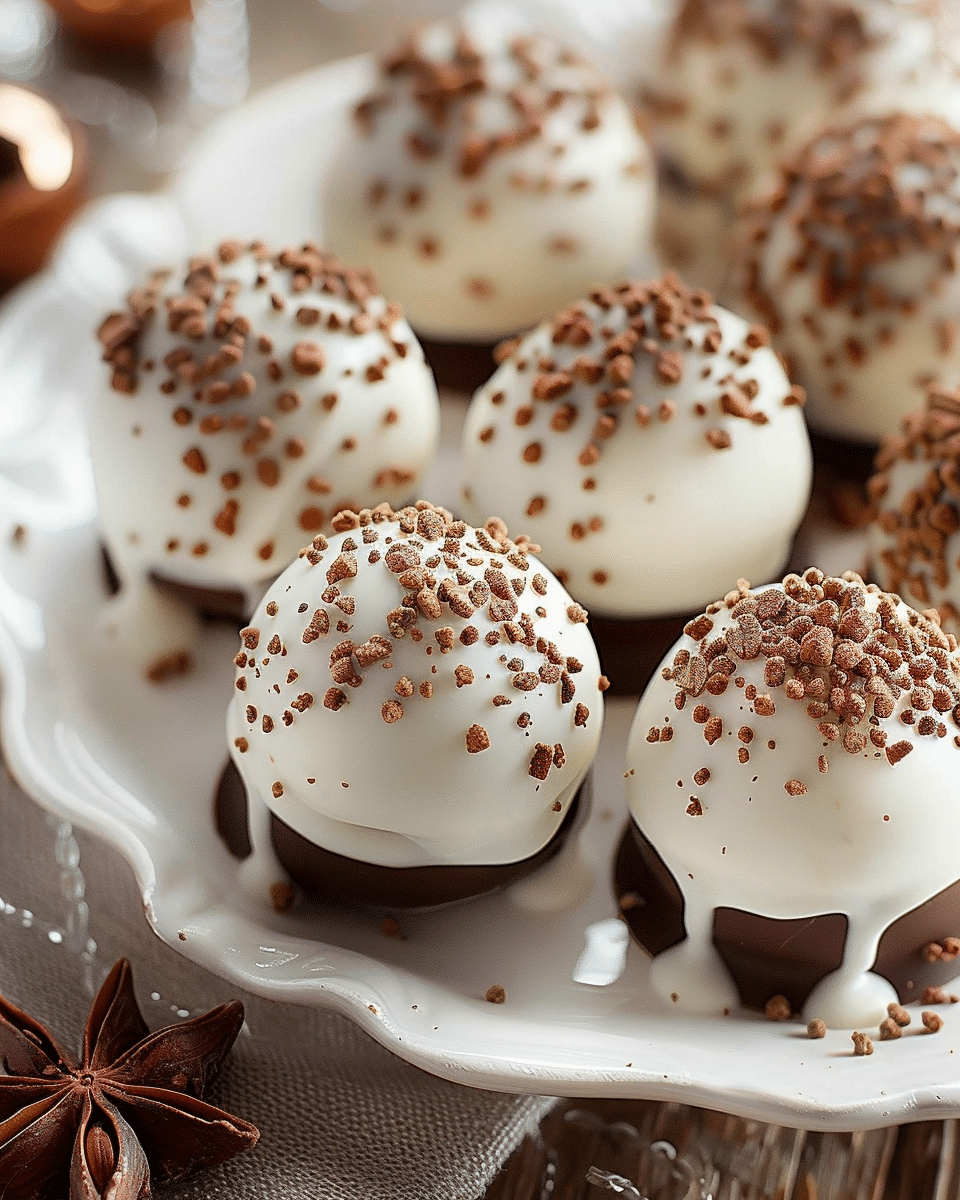
- Spread this Oreo truffle mixture evenly over the cooled blue velvet brownies, creating a tantalizing layer of indulgence.
White Chocolate Layer:
- Melt the white chocolate bark or chips in a heatproof bowl, either over a double boiler or in the microwave in short intervals, stirring frequently until smooth.
- Pour the melted white chocolate over the Oreo truffle layer, using a spatula to spread it evenly.
- Sprinkle mini chocolate chips over the top for a finishing touch.
Serving Tips:
- Slice with Care: When serving Blue Velvet Oreo Brownies, use a sharp knife to ensure clean slices. Wiping the knife between cuts can help maintain neat edges and prevent the layers from sticking together.
- Garnish Creatively: Enhance the visual appeal of your brownies by garnishing each slice with a drizzle of chocolate sauce, a dollop of whipped cream, or a sprinkle of powdered sugar. Fresh berries or mint leaves can also add a pop of color and freshness.
- Pair with Complementary Flavors: Elevate the flavor experience by serving Blue Velvet Oreo Brownies alongside a scoop of vanilla ice cream, a glass of cold milk, or a hot cup of coffee. The contrast of temperatures and textures will delight your palate.
- Create a Stunning Presentation: Arrange the sliced brownies on a decorative serving platter or dessert stand to showcase their beauty. Adding a few whole Oreos or chocolate curls around the edges can enhance the presentation and make it even more enticing.
Storage Tips:
- Refrigeration: Store leftover Blue Velvet Oreo Brownies in an airtight container in the refrigerator for up to 3-4 days. This helps maintain their freshness and prevents the layers from becoming too soft.
- Freezing: If you’d like to extend the shelf life of your brownies, they can be frozen for up to 1-2 months. Wrap individual slices or the entire pan tightly in plastic wrap and aluminum foil before placing them in the freezer. Thaw overnight in the refrigerator before serving.
- Room Temperature: If you prefer to enjoy your brownies at room temperature, allow them to sit out for about 15-20 minutes before serving. This will soften the layers slightly and enhance their texture.
- Avoid Moisture: To prevent the brownies from becoming soggy, place a piece of parchment paper or wax paper between layers when storing them in a container. This helps absorb any excess moisture and keeps the brownies fresh for longer.
Related Recipes:
FAQs:
Can I use regular food coloring instead of gel food coloring for the Blue Velvet Brownies?
Yes, you can substitute regular liquid food coloring for gel food coloring. Keep in mind that you may need to adjust the amount to achieve the desired color intensity. Start with a small amount and gradually add more until you reach the desired shade of blue.
Can I use store-bought Oreo crumbs instead of crushing whole Oreos for the truffle layer?
Absolutely! Using store-bought Oreo crumbs can save time and effort in the kitchen. Simply substitute an equal amount of Oreo crumbs for the crushed Oreos called for in the recipe. Make sure to check the ingredient list to ensure that the crumbs do not contain any additional ingredients that may affect the texture or flavor.
Can I make Blue Velvet Oreo Brownies ahead of time for a special occasion?
Yes, you can prepare Blue Velvet Oreo Brownies in advance for convenience. The brownies can be stored in the refrigerator for up to 3-4 days, or frozen for 1-2 months. If freezing, be sure to wrap them tightly to prevent freezer burn. Thaw frozen brownies overnight in the refrigerator before serving for best results.
Can I customize the toppings for Blue Velvet Oreo Brownies?
Absolutely! Feel free to get creative with the toppings to suit your taste preferences. In addition to mini chocolate chips, you can sprinkle crushed Oreos, chopped nuts, or colorful sprinkles over the white chocolate layer. Drizzling caramel sauce or melted peanut butter on top can also add a delicious twist. Let your imagination run wild and customize your brownies to make them uniquely yours!
Conclusion:
With its stunning visual appeal and decadent flavor profile, our Blue Velvet Oreo Brownies are sure to be the star of any dessert spread. Whether you’re hosting a gathering with friends or simply treating yourself to a sweet indulgence, these brownies are guaranteed to impress. So why wait? Dive into a slice of heaven today and experience the magic of Blue Velvet Oreo Brownies for yourself!
📖 Recipe:
Print
Blue Velvet Oreo Brownies
5 Stars 4 Stars 3 Stars 2 Stars 1 Star
No reviews
- Author: Isabella
- Total Time: 1 hour and 5 minutes
- Yield: 12 servings
- Diet: Vegetarian
Description
Indulge in the decadent delight of Blue Velvet Oreo Brownies, a stunning fusion of rich blue velvet brownies and creamy Oreo truffle layers, topped with a luscious white chocolate coating. Perfect for satisfying your sweet cravings and impressing guests at any occasion.
Ingredients
Blue Velvet Brownies:
1 4-oz. bittersweet chocolate bar, chopped
¾ cup butter
2 cups sugar
4 large eggs
1 ½ cups all-purpose flour
1 ½ tsp baking powder
1 tsp vanilla extract
⅛ tsp salt
1 tbsp Wilton royal blue gel food coloring
A dab of Wilton violet gel food coloring
Oreo Truffle Layer:
1 package Oreos
8 oz cream cheese
White Chocolate Layer:
10 oz white chocolate bark or chips
Mini chocolate chips for garnish
Instructions
- Prepare the Blue Velvet Brownie batter, incorporating melted chocolate, butter, sugar, eggs, flour, baking powder, vanilla, and food coloring. Bake until set.
- Crush Oreos and mix with softened cream cheese for the truffle layer. Spread over cooled brownies.
- Melt white chocolate and pour over the truffle layer. Sprinkle with mini chocolate chips.
- Serve and enjoy the decadent treat!
Notes
Ensure brownies are completely cooled before adding the truffle layer to prevent melting.
Customize toppings according to preference for added flair.
Store leftovers in the refrigerator for prolonged freshness.
- Prep Time: 20 minutes
- Cook Time: 45 minutes
- Category: Dessert
- Method: Baking
- Cuisine: Fusion
Nutrition
- Serving Size: 12 servings


