
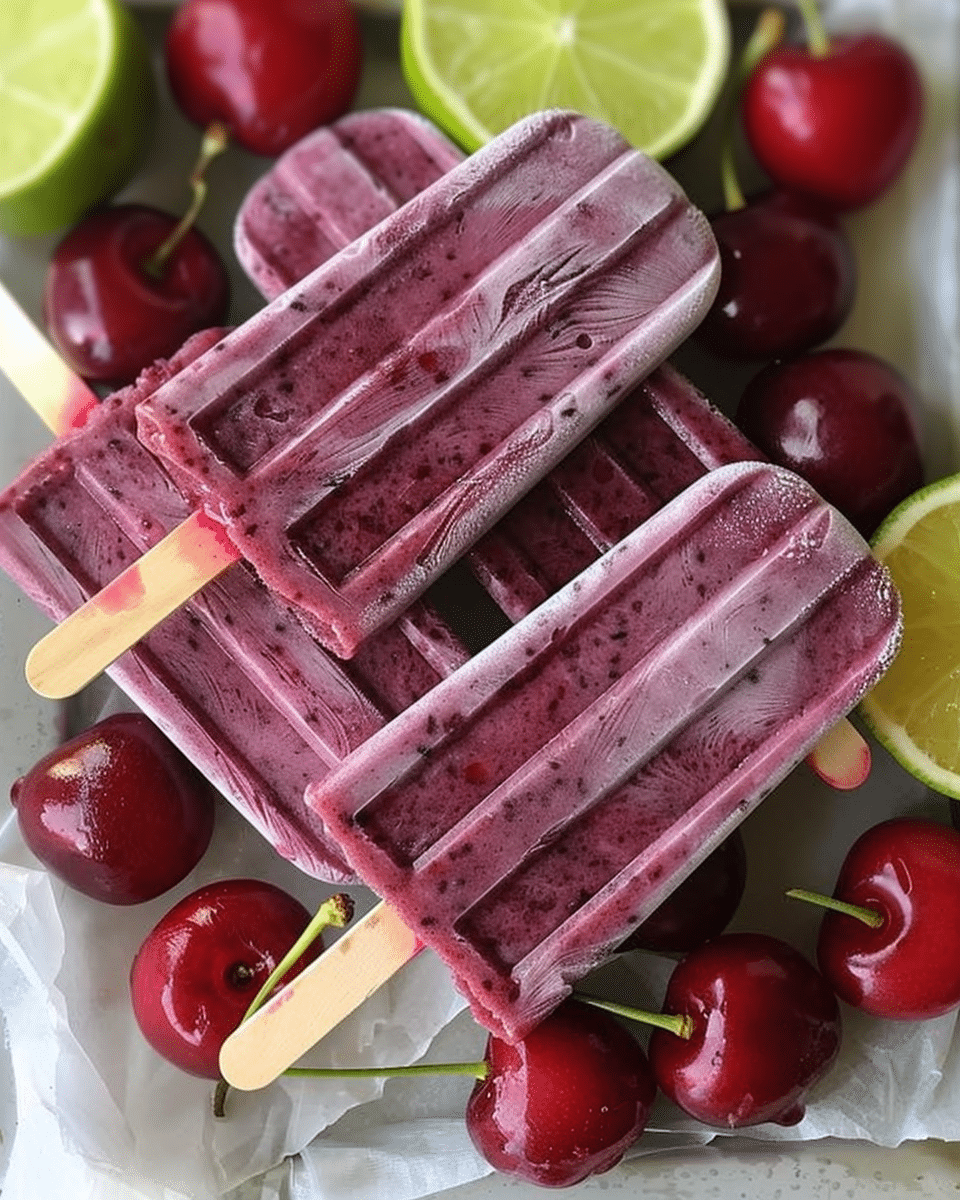
Looking for the perfect way to cool down on a sweltering summer day? These Cherry Lime Ice Pops are the ultimate solution! Bursting with the vibrant flavors of fresh cherries and tangy lime juice, these homemade ice pops are both refreshing and delicious. With just a few simple ingredients and minimal prep time, you can whip up a batch of these delightful treats that will leave everyone asking for more.
Ingredients:
2 cups fresh or frozen cherries, pitted
1 cup lime juice
1/2 cup water
1/2 cup sugar
1 tbsp lime zest
Directions:
Blend Ingredients: In a blender, combine the cherries, lime juice, water, sugar, and lime zest. Blend until smooth. The vibrant red color and refreshing scent of this mixture will make you excited for the final treat!
Fill Molds: Pour the cherry-lime mixture into ice pop molds, leaving a little space at the top for expansion during freezing.
Insert Sticks and Freeze: Insert the sticks into the molds and freeze for at least 4 hours or until solid. Patience is key here, as this step ensures your ice pops will have a perfect texture.
Release Ice Pops: To remove the ice pops from the molds, run warm water over the outside of the molds for a few seconds. This helps to loosen the ice pops without melting them.
Serving Tips:
Unmold with Care: If the ice pops are difficult to remove from the molds, briefly running warm water over the outside of the molds can help loosen them without melting the ice pops. Make sure to run the water just long enough to release the pops, to maintain their shape.
Garnish for Extra Flair: Before serving, garnish your Cherry Lime Ice Pops with a sprinkle of lime zest or a few fresh mint leaves for added visual appeal and a burst of fresh flavor.
Serve Immediately: Ice pops are best enjoyed right after they’re unmolded and slightly softened. Serve them on a hot day to make the most of their refreshing qualities.
Use Popsicle Holders: To avoid drips and messes, consider using popsicle holders or napkins for easier handling. This is especially useful for kids!
Storage Tips:
Store in Freezer: Keep the Cherry Lime Ice Pops in the freezer until you’re ready to enjoy them. They can be stored for up to 3 months.
Keep in Airtight Container: If you’re making a large batch, transfer the unmolded ice pops to an airtight container or resealable freezer bag to prevent them from absorbing other odors in the freezer.
Avoid Freezer Burn: To prevent freezer burn, wrap the ice pops individually in plastic wrap or parchment paper before storing them in a container.
Re-freeze Carefully: If the ice pops have started to melt slightly, refreeze them promptly to maintain their texture. However, avoid repeatedly thawing and refreezing as this can affect the quality.
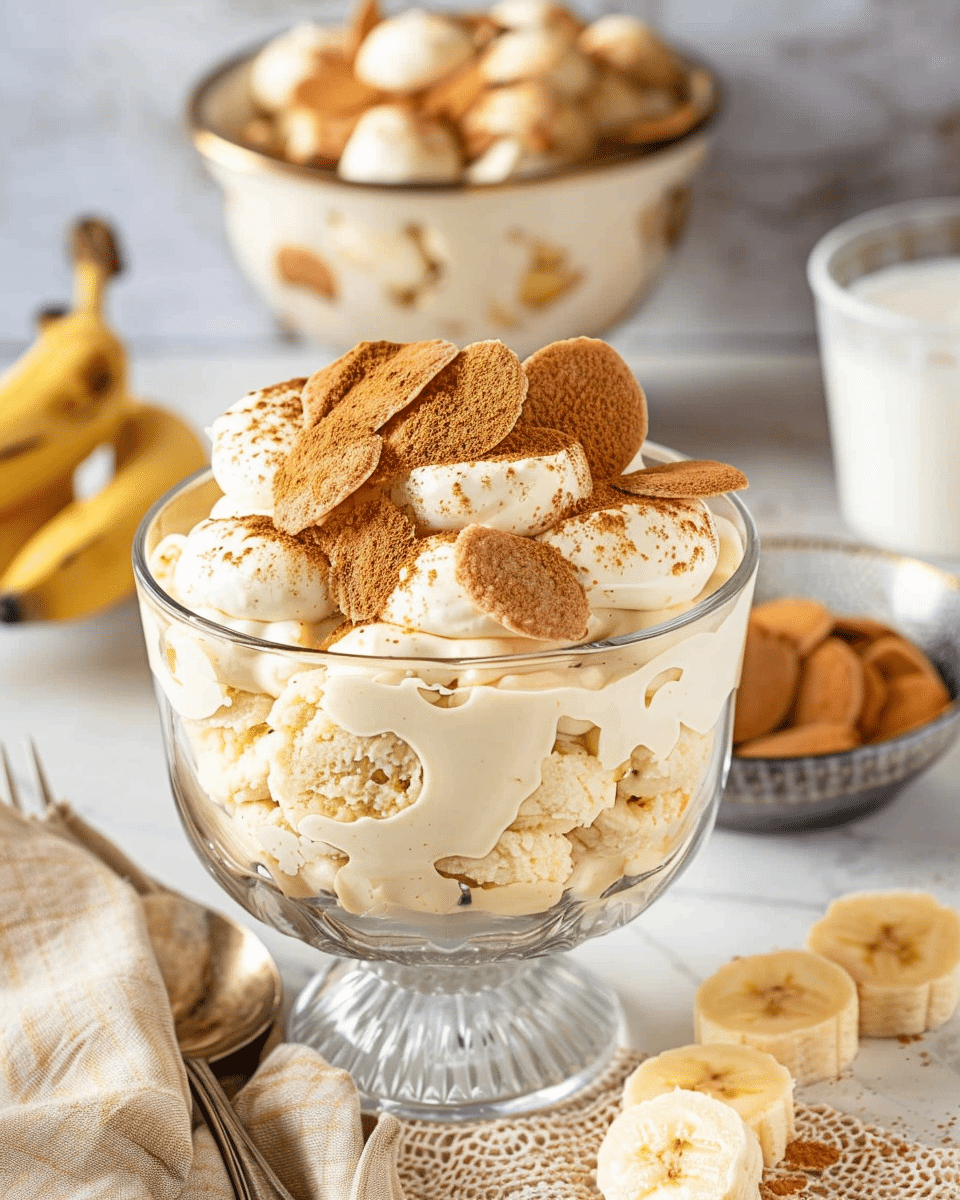
Related Recipes:
FAQs:
Conclusion:
These Cherry Lime Ice Pops are not only a delightful way to beat the heat but also a healthier alternative to store-bought frozen treats. Enjoy them as a sweet, refreshing snack or as a fun dessert for gatherings. With their irresistible cherry-lime flavor and vibrant color, these ice pops are sure to be a hit with both kids and adults alike!
📖 Recipe:
Print
Cherry Lime Ice Pops
- Total Time: 4 hour 10 minutes (including Freezing)
- Yield: 8 servings
- Diet: Vegetarian
Description
Cool off on a hot summer day with these Cherry Lime Ice Pops. Bursting with the refreshing flavors of fresh cherries and tangy lime juice, these homemade ice pops are easy to make and perfect for a quick, sweet treat. With just a few simple ingredients, you can enjoy a delicious and healthy dessert that’s sure to please everyone.
Ingredients
2 cups fresh or frozen cherries, pitted
1 cup lime juice
1/2 cup water
1/2 cup sugar
1 tbsp lime zest
Instructions
- In a blender, combine cherries, lime juice, water, sugar, and lime zest. Blend until smooth.
- Pour the mixture into ice pop molds, leaving a little space at the top for expansion.
- Insert sticks and freeze for at least 4 hours or until solid.
- To release the ice pops, run warm water over the outside of the molds for a few seconds.
Notes
Use fresh cherries for the best flavor. Frozen cherries are a good alternative when fresh ones are out of season.
Adjust the amount of sugar based on your preference and the tartness of the lime juice.
Garnish with extra lime zest or fresh mint leaves before serving for added flair.
- Prep Time: 10 minutes
- Category: Dessert / Frozen Treat
- Method: Blending and Freezing
- Cuisine: American
Nutrition
- Serving Size: 8 servings
- Calories: 70 kcal per serving


