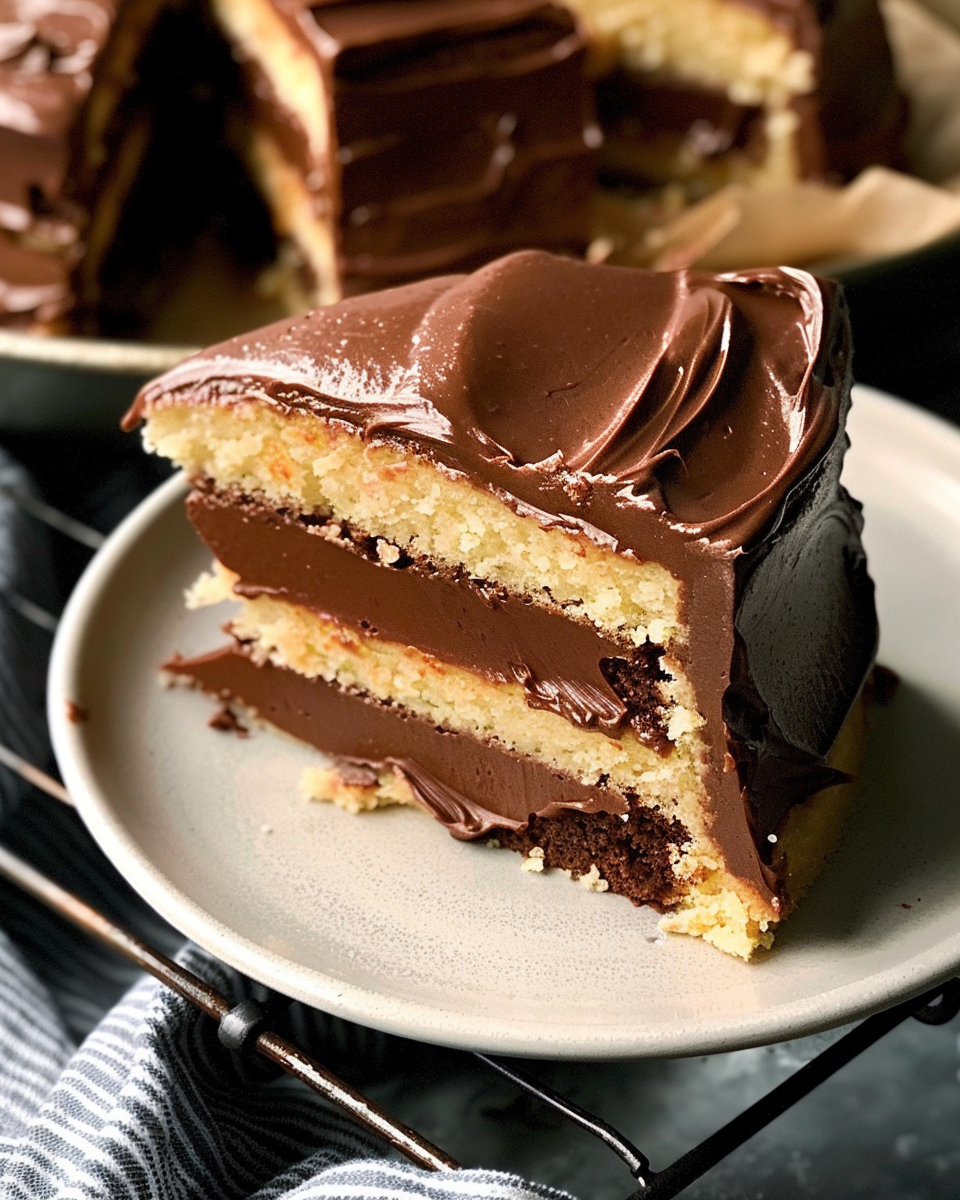
Indulge in a blast from the past with these Homemade Snack Cakes! Soft, fluffy, and generously filled with creamy vanilla frosting, all enveloped in a rich chocolate coating, these treats are the perfect nostalgic snack. Whether you’re reliving your childhood lunchbox days or looking to impress guests with a delightful dessert, this recipe is easy to make and deliciously satisfying.
Ingredients:
For the Cake:
1 box vanilla or yellow cake mix
Ingredients required for the cake mix (eggs, oil, water)
For the Filling:
1/2 cup unsalted butter, softened
1/2 cup vegetable shortening
2 cups powdered sugar
1 tsp vanilla extract
2 tbsp heavy cream
For the Chocolate Coating:
2 cups semi-sweet chocolate chips
2 tbsp coconut oil or vegetable oil
Directions:
Prepare the Cake:
Preheat your oven to 350°F (175°C). Grease and line a 9×13-inch baking pan.
Prepare the cake mix according to the package instructions. Pour the batter into the prepared pan and bake for 25-30 minutes, or until a toothpick inserted into the center comes out clean. Let the cake cool completely.
Make the Filling:
In a large bowl, beat together the softened butter and vegetable shortening until creamy. Gradually add the powdered sugar and vanilla extract, beating until smooth and fluffy. Add heavy cream and mix until the filling is light and spreadable.
Assemble the Snack Cakes:
Once the cake has cooled, cut it into small squares or rectangles (about 2×2 inches). Slice each piece horizontally to create a top and bottom layer.
Spread the filling onto the bottom layer, then place the top layer back on. Repeat with all the cake pieces.
Coat with Chocolate:
In a microwave-safe bowl, melt the chocolate chips and coconut oil in 30-second intervals, stirring between each, until smooth.
Dip each filled cake into the melted chocolate, covering all sides. Place the coated cakes on a wire rack or parchment paper to set. Refrigerate to speed up the process if desired.
Serve:
Once the chocolate is set, your homemade snack cakes are ready to enjoy!
Serving Tips:
Presentation: For a fun touch, drizzle extra melted chocolate over the top of each cake or sprinkle with colorful sprinkles before serving. This adds visual appeal and makes them perfect for parties or gatherings.
Pairing: Serve these snack cakes with a glass of cold milk or a cup of coffee for a delightful afternoon treat. You can also pair them with fresh fruit or a scoop of ice cream for a more decadent dessert.
Portion Control: Cut the snack cakes into uniform sizes to ensure even serving. Each piece can be about 2×2 inches, making them easy to grab and enjoy.
Creative Plating: Arrange the snack cakes on a decorative platter or tiered stand for an eye-catching presentation, especially when serving at parties or events.
Storage Tips:
Room Temperature: Store the snack cakes in an airtight container at room temperature for up to 3 days. Make sure they are completely cooled and the chocolate coating is set before storing.
Refrigeration: If you want to extend their shelf life, refrigerate the snack cakes for up to a week. Just be aware that refrigeration can slightly alter the texture of the chocolate coating, making it firmer.
Freezing: For longer storage, freeze the snack cakes. Place them in a single layer in an airtight container or freezer bag, separating layers with parchment paper to prevent sticking. They can be frozen for up to 3 months. When ready to enjoy, thaw them in the refrigerator or at room temperature.
Avoiding Sogginess: To prevent the cakes from becoming soggy, avoid storing them in a humid environment. If you’re in a particularly humid area, consider refrigerating them to maintain their texture.
Labeling: If you freeze the snack cakes, label the container with the date of freezing, so you can keep track of their freshness.
Related Recipes:
FAQs:
Conclusion:
These Homemade Snack Cakes are not only a delightful treat but also a wonderful way to recreate the flavors of your childhood. Perfect for gatherings, after-school snacks, or simply enjoying with a cup of coffee, this recipe is sure to become a family favorite. Give it a try, and relish the joy of homemade goodness in every bite!
📖 Recipe:
Print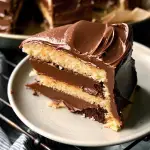
Homemade Snack Cakes
- Total Time: 50 minutes
- Yield: 12 snack cakes
- Diet: Vegetarian
Description
Indulge in these delightful Homemade Snack Cakes that are soft, fluffy, and filled with creamy vanilla frosting, all coated in rich chocolate. Perfect for lunchboxes or as a nostalgic treat, these homemade goodies are a hit for both kids and adults alike. Bring back memories of classic snacks while enjoying the freshness of homemade goodness with this easy-to-follow recipe!
Ingredients
For the Cake:
1 box vanilla or yellow cake mix
Ingredients required for the cake mix (eggs, oil, water)
For the Filling:
1/2 cup unsalted butter, softened
1/2 cup vegetable shortening
2 cups powdered sugar
1 tsp vanilla extract
2 tbsp heavy cream
For the Chocolate Coating:
2 cups semi-sweet chocolate chips
2 tbsp coconut oil or vegetable oil
Instructions
- Prepare the Cake:
- Preheat your oven to 350°F (175°C). Grease and line a 9×13-inch baking pan.
- Prepare the cake mix according to the package instructions. Pour the batter into the prepared pan and bake for 25-30 minutes or until a toothpick comes out clean. Let cool completely.
- Make the Filling:
- In a large bowl, beat together the softened butter and shortening until creamy. Gradually add the powdered sugar and vanilla extract, beating until smooth. Add heavy cream and mix until spreadable.
- Assemble the Snack Cakes:
- Cut the cooled cake into squares or rectangles (about 2×2 inches). Slice each piece horizontally.
- Spread filling on the bottom layer, then place the top layer back on. Repeat for all pieces.
- Coat with Chocolate:
- Melt chocolate chips and coconut oil in a microwave-safe bowl in 30-second intervals until smooth.
- Dip each filled cake in the melted chocolate, covering all sides. Place on a wire rack or parchment paper to set.
- Serve:
- Once the chocolate is set, enjoy your homemade snack cakes!
Notes
Store snack cakes in an airtight container at room temperature for up to 3 days, or refrigerate for up to a week.
Freeze for up to 3 months in an airtight container, separating layers with parchment paper.
- Prep Time: 20 minutes
- Cook Time: 30 minutes
- Category: Dessert / Snack
- Method: Baking
- Cuisine: American
Nutrition
- Serving Size: 12 snack cakes
- Calories: Approx. 350 kcal per cake