
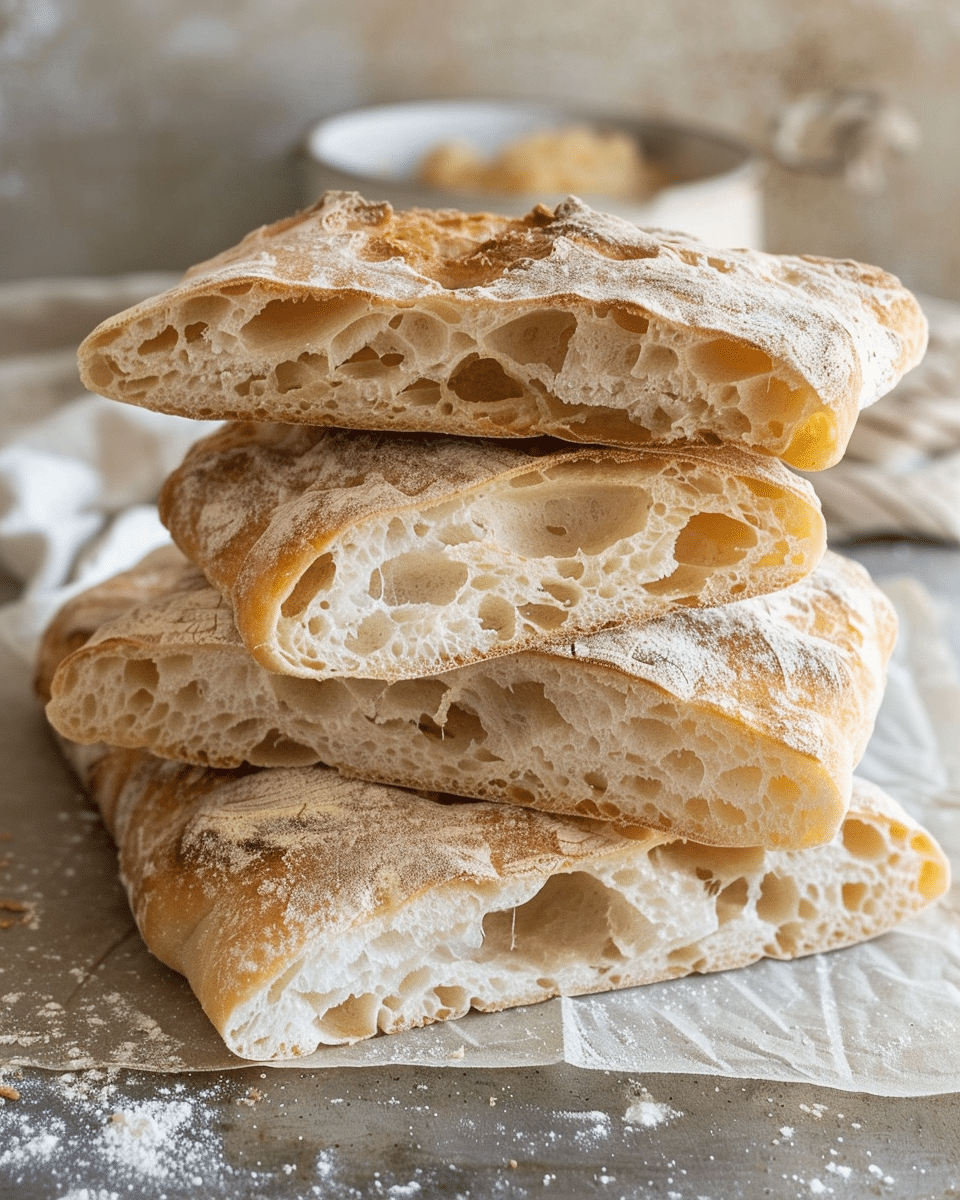
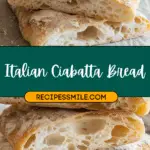
Italian Ciabatta Bread a rustic Italian favorite, ciabatta bread stands out with its crisp, golden crust, soft chewy interior, and signature air pockets. I love how this homemade version captures the authentic texture and taste, whether I’m slicing it for paninis, tearing off a piece to dip in olive oil, or enjoying it warm with a smear of butter. With minimal ingredients and a no-knead method, this recipe is ideal for both beginner and experienced bakers.
Why You’ll Love This Recipe
I always come back to this ciabatta recipe because of how easy and rewarding it is. The overnight fermentation develops rich flavor without any kneading or complicated steps. It’s an excellent base for sandwiches, garlic bread, or soup dipping, and it’s surprisingly simple for such an artisanal-looking loaf. I also like that it uses pantry staples—no need for fancy tools or ingredients.
Ingredients
(Tip: You’ll find the full list of ingredients and measurements in the recipe card below.)
4 cups all-purpose flour (or bread flour for a chewier texture)
1 1/2 teaspoons salt
1/2 teaspoon instant yeast
1 3/4 cups lukewarm water
Cornmeal or flour, for dusting
Directions
I start by combining the flour, salt, and instant yeast in a large bowl. I give it a quick stir to mix everything together.
Then, I slowly add lukewarm water and stir until a sticky dough forms. There’s no need to knead—just mix until combined.
I cover the bowl with plastic wrap and let it rest at room temperature for 12 to 18 hours. By then, it’s doubled in size and full of bubbles.
On a well-floured surface, I gently transfer the dough and fold it into a rectangle. I try not to press out too much air.
I dust a baking sheet or parchment paper with cornmeal or flour and move the dough onto it, shaping it into a rustic loaf.
After covering it again, I let it rise for another 1 to 2 hours until it becomes puffy.
While it rises, I preheat the oven to 450°F (230°C) and place a baking stone or an upside-down baking sheet inside to heat.
Once the dough is ready, I gently slide the parchment with the dough onto the hot stone or sheet.
I bake it for 20 to 25 minutes until the crust turns golden and the loaf sounds hollow when tapped.
Finally, I let it cool on a wire rack before slicing into it.
Servings and timing
Servings: About 10 slices
Prep Time: 10 minutes
Cook Time: 25 minutes
Rising Time: 12–18 hours (overnight) + 1–2 hours
Total Time: Around 13 hours
Calories: Approximately 160 kcal per slice
Variations
I sometimes switch things up by using bread flour instead of all-purpose for a chewier texture. I’ve also added fresh rosemary or thyme to the dough for a fragrant, herby loaf. For a slightly tangier flavor, I let the dough ferment on the longer side of the rise time. Occasionally, I even sprinkle sea salt on top before baking for extra flavor.
Storage/Reheating
Once cooled, I store my ciabatta in a paper bag or loosely wrapped in parchment to keep the crust crisp for a day or two. For longer storage, I wrap it in foil and freeze it. To reheat, I pop slices in the toaster or warm the whole loaf in a 350°F (175°C) oven for about 10 minutes.
Related Recipes:
- Easy Roasted Garlic and Rosemary Sourdough Bread
- Homemade Artisan Sourdough Bread
- Dutch Oven Sourdough Bread
FAQs
How do I know when ciabatta dough is ready to bake?
I look for visible bubbles on the surface and a dough that has doubled in size. After shaping, it should feel puffy but still hold its shape.
Can I make this with sourdough starter instead of yeast?
Yes, I’ve used sourdough starter for a more tangy flavor. I adjust the rise times and keep an eye on the dough’s texture, since sourdough can ferment more slowly.
What makes ciabatta bread different from other types of bread?
Ciabatta stands out because of its high hydration dough, which gives it those signature air pockets, a chewy crumb, and a crisp crust.
Do I need a stand mixer or special tools for this recipe?
Not at all. I make this by hand with just a mixing bowl, spoon, and baking sheet. A baking stone helps the crust develop better, but it’s not required.
Why is my ciabatta flat after baking?
It could be from overhandling the dough or not letting it rise enough. I always try to be gentle when shaping and make sure the dough has time to become puffy before baking.
Conclusion
This Italian ciabatta bread brings artisan baking into my own kitchen with minimal effort. Its crispy crust, chewy crumb, and open texture make it one of my favorite loaves to bake and share. Whether it’s part of a sandwich, side dish, or snack, I always enjoy having a fresh loaf of ciabatta around.
📖 Recipe:
Print
Italian Ciabatta Bread
5 Stars 4 Stars 3 Stars 2 Stars 1 Star
No reviews
- Author: Isabella
- Total Time: 13 hours
- Yield: 1 loaf (about 10 slices)
- Diet: Vegetarian
Description
A rustic Italian bread with a crisp crust, chewy interior, and signature air pockets, made with a no-knead, overnight fermentation method that delivers authentic flavor and texture with minimal effort.
Ingredients
4 cups all-purpose flour (or bread flour for a chewier texture)
1 1/2 teaspoons salt
1/2 teaspoon instant yeast
1 3/4 cups lukewarm water
Cornmeal or flour, for dusting
Instructions
- In a large bowl, combine flour, salt, and instant yeast. Stir to mix.
- Gradually add lukewarm water and stir until a sticky dough forms. No kneading needed.
- Cover the bowl with plastic wrap and let rest at room temperature for 12 to 18 hours, until doubled and bubbly.
- Transfer dough to a well-floured surface and gently shape into a rectangle, trying not to deflate it.
- Dust a baking sheet or parchment paper with cornmeal or flour, and place the dough onto it, shaping it into a rustic loaf.
- Cover and let rise for 1 to 2 hours, until puffy.
- Preheat oven to 450°F (230°C) with a baking stone or upside-down baking sheet inside.
- Gently slide the parchment paper with dough onto the preheated surface.
- Bake for 20 to 25 minutes, until golden brown and the loaf sounds hollow when tapped.
- Cool on a wire rack before slicing.
Notes
Use bread flour for a chewier texture.
Add herbs like rosemary or thyme for extra flavor.
Longer fermentation yields a tangier taste.
Sprinkle sea salt on top before baking for a flavor boost.
Store in paper or parchment to keep crust crisp; freeze for longer storage.
- Prep Time: 10 minutes
- Cook Time: 25 minutes
- Category: Bread
- Method: Baking
- Cuisine: Italian
Nutrition
- Serving Size: 1 slice
- Calories: 160
- Sugar: 0g
- Sodium: 280mg
- Fat: 0.5g
- Saturated Fat: 0g
- Unsaturated Fat: 0.5g
- Trans Fat: 0g
- Carbohydrates: 33g
- Fiber: 1g
- Protein: 4g
- Cholesterol: 0mg


