
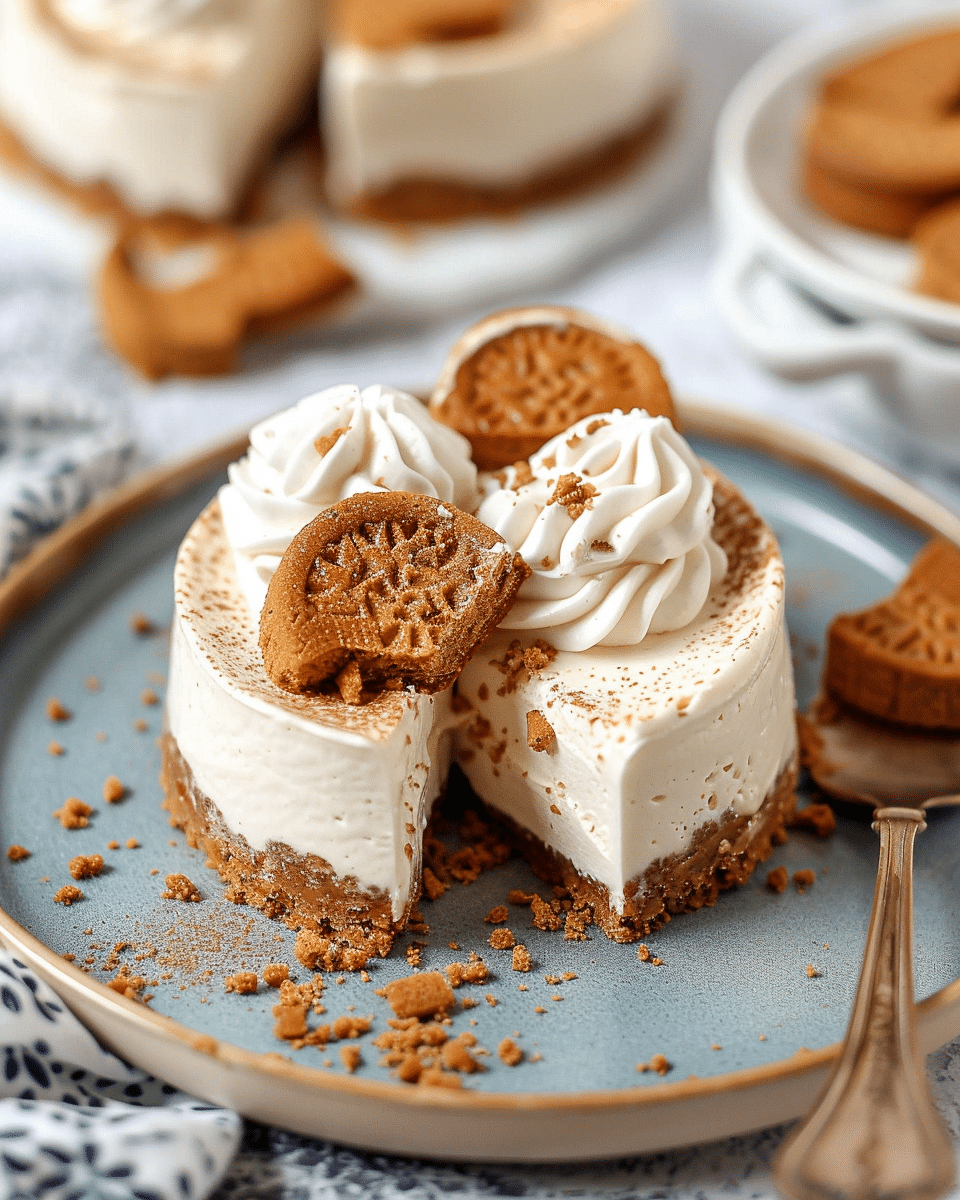
Craving a rich, indulgent dessert but don’t want to spend hours in the kitchen? Look no further than this No-Bake Biscoff Cheesecake! Featuring a buttery Biscoff cookie crust and a creamy, flavorful cheesecake filling infused with Biscoff spread, this dessert is as delicious as it is effortless. Perfect for any occasion, it offers the ultimate sweet treat with minimal preparation.
Ingredients:
For the Crust:
2 cups Biscoff cookie crumbs (about 28 cookies)
1/4 cup unsalted butter, melted
For the Filling:
1 cup Biscoff spread
1 cup powdered sugar
16 oz cream cheese, softened
1 teaspoon vanilla extract
1 1/2 cups heavy whipping cream
For Topping (optional):
Extra Biscoff cookies, crushed
Biscoff spread, melted for drizzling
Directions:
Prepare the Crust: In a medium bowl, combine Biscoff cookie crumbs and melted butter until well mixed. Press the mixture firmly into the bottom of a 9-inch springform pan to create an even crust. Place the pan in the refrigerator while you prepare the filling.
Make the Filling: In a large mixing bowl, beat the softened cream cheese, Biscoff spread, powdered sugar, and vanilla extract until the mixture is smooth and creamy.
Whip the Cream: In a separate bowl, whip the heavy cream until stiff peaks form. Gently fold the whipped cream into the Biscoff cream cheese mixture until fully incorporated.
Assemble the Cheesecake: Spread the cheesecake filling evenly over the chilled crust. Smooth the top with a spatula and refrigerate for at least 4 hours, or overnight, to allow it to set properly.
Garnish and Serve: Before serving, optionally top with extra crushed Biscoff cookies and drizzle with melted Biscoff spread. Slice and enjoy the creamy, indulgent flavors!
Serving Tips:
Chill Thoroughly: For best results, ensure the cheesecake is well-chilled and fully set before serving. This helps the cheesecake hold its shape and makes slicing easier.
Pre-Cut Portions: If serving at a party or gathering, consider pre-slicing the cheesecake for convenience. Use a hot knife (dip it in hot water and wipe it dry) to make clean cuts.
Garnish for Presentation: Enhance the visual appeal by adding extra crushed Biscoff cookies on top just before serving. A drizzle of melted Biscoff spread also adds a touch of elegance.
Serve Cold: This cheesecake is best enjoyed cold. It pairs wonderfully with a cup of coffee or tea and makes a decadent ending to any meal.
Storage Tips:
Refrigeration: Store any leftovers in the refrigerator. Cover the cheesecake with plastic wrap or aluminum foil, or keep it in an airtight container to prevent it from absorbing other flavors and odors.
Shelf Life: The cheesecake can be stored in the refrigerator for up to 5 days. If it’s been sitting out at room temperature for more than 2 hours, it should be discarded to ensure food safety.
Freezing: For longer storage, you can freeze the cheesecake. Wrap it tightly in plastic wrap and aluminum foil, or place it in a freezer-safe container. It can be frozen for up to 2 months. Thaw in the refrigerator for several hours before serving.
Re-Garnishing: If you plan to freeze the cheesecake, add the crushed Biscoff cookies and melted spread just before serving. This keeps the topping fresh and crunchy.
Avoiding Soggy Crust: If storing for an extended period, you might want to store the crust separately and assemble the cheesecake just before serving to prevent it from becoming soggy.
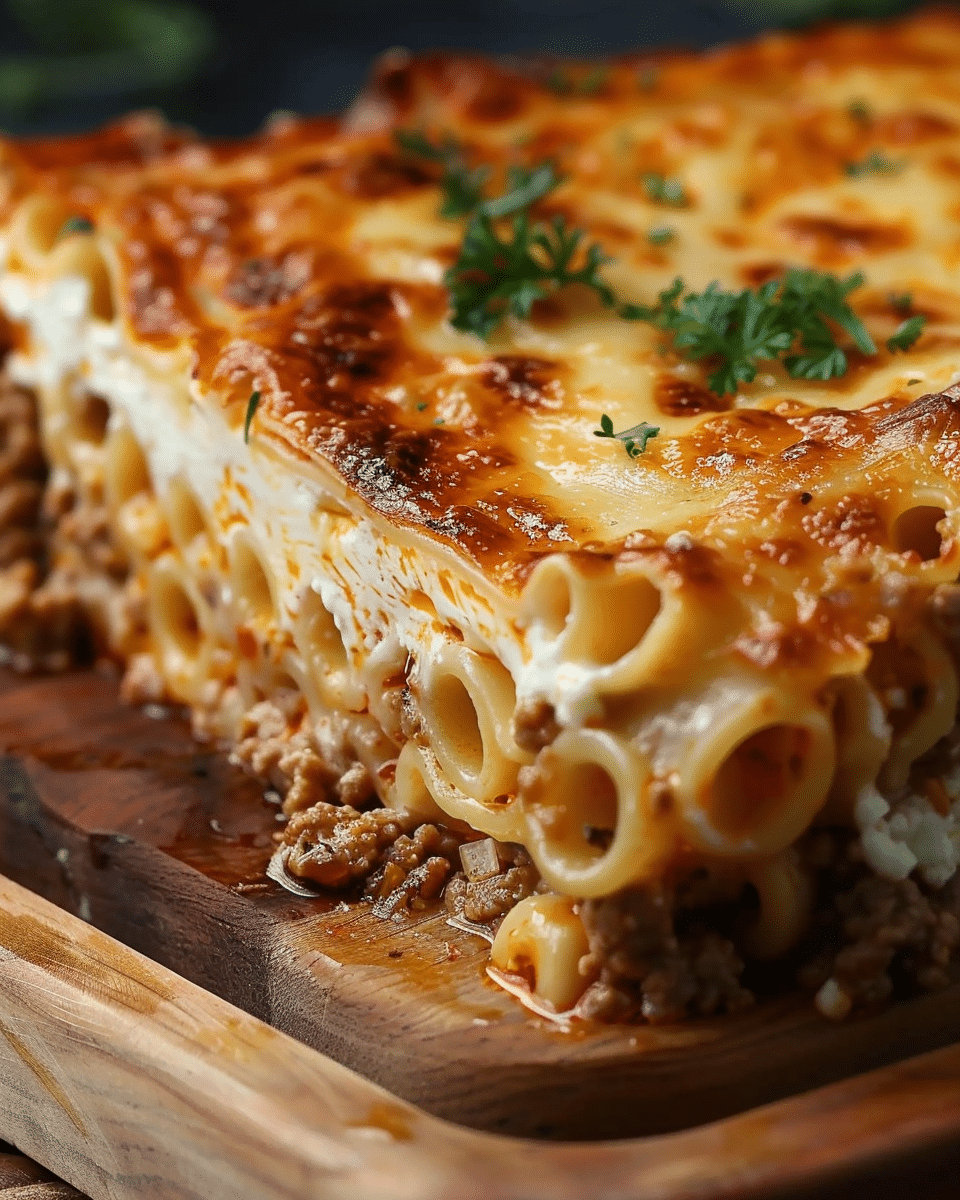
Related Recipes:
FAQs:
Conclusion:
This No-Bake Biscoff Cheesecake is a delightful way to satisfy your sweet tooth with minimal effort. Its creamy texture and rich flavor, combined with the buttery Biscoff crust, make it a truly irresistible dessert. Whether you’re hosting a party or simply treating yourself, this cheesecake is sure to impress!
📖 Recipe:
Print
No-Bake Biscoff Cheesecake
- Total Time: 4 hours 20 minutes (including chill time)
- Yield: 8 servings
- Diet: Vegetarian
Description
Indulge in the creamy goodness of this No-Bake Biscoff Cheesecake! Featuring a buttery Biscoff cookie crust and a rich, smooth cheesecake filling flavored with Biscoff spread, this dessert is the ultimate treat for any sweet tooth. Easy to prepare with minimal effort, it’s perfect for special occasions or a delightful everyday dessert. Enjoy the decadence of Biscoff in every bite!
Ingredients
For the Crust:
2 cups Biscoff cookie crumbs (about 28 cookies)
1/4 cup unsalted butter, melted
For the Filling:
1 cup Biscoff spread
16 oz cream cheese, softened
1 cup powdered sugar
1 teaspoon vanilla extract
1 1/2 cups heavy whipping cream
For Topping (optional):
Extra Biscoff cookies, crushed
Biscoff spread, melted for drizzling
Instructions
- Prepare the Crust: Mix Biscoff cookie crumbs and melted butter in a medium bowl. Press the mixture into the bottom of a 9-inch springform pan to form an even crust. Refrigerate while preparing the filling.
- Make the Filling: In a large mixing bowl, beat the softened cream cheese, Biscoff spread, powdered sugar, and vanilla extract until smooth and creamy.
- Whip the Cream: In a separate bowl, whip the heavy cream until stiff peaks form. Gently fold the whipped cream into the Biscoff cream cheese mixture until fully combined.
- Assemble the Cheesecake: Spread the cheesecake filling evenly over the prepared crust. Smooth the top and refrigerate for at least 4 hours, or overnight, to set.
- Garnish and Serve: Before serving, top with extra crushed Biscoff cookies and drizzle with melted Biscoff spread if desired. Slice and enjoy!
Notes
Ensure the cheesecake is well-chilled and fully set before serving for the best texture.
For a gluten-free version, use gluten-free Biscoff cookies and check all other ingredients for gluten content.
The cheesecake can be frozen for up to 2 months; thaw in the refrigerator before serving.
- Prep Time: 20 minutes
- Category: Dessert
- Method: No-Bake
- Cuisine: American
Nutrition
- Serving Size: 8 servings
- Calories: 450 kcal per serving


