
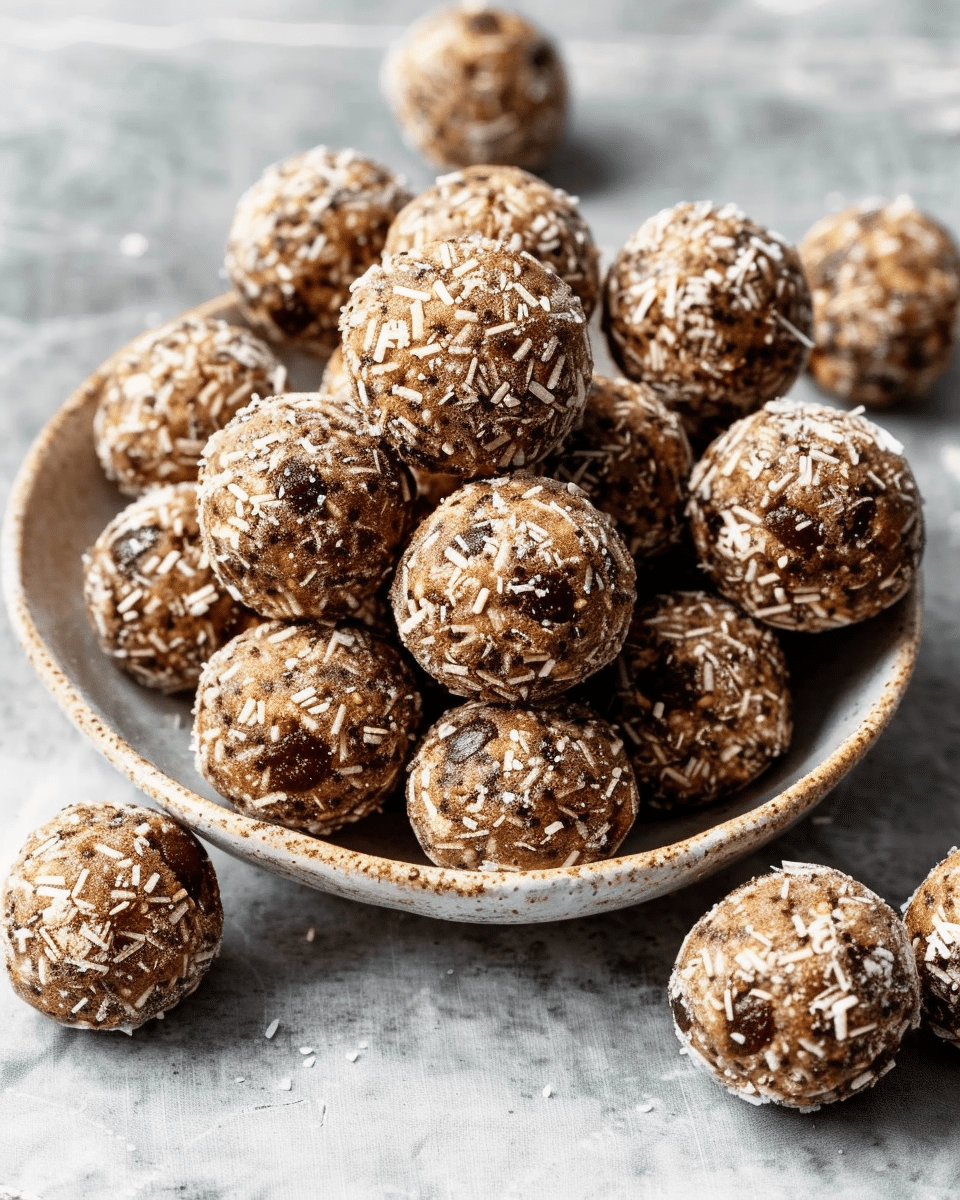
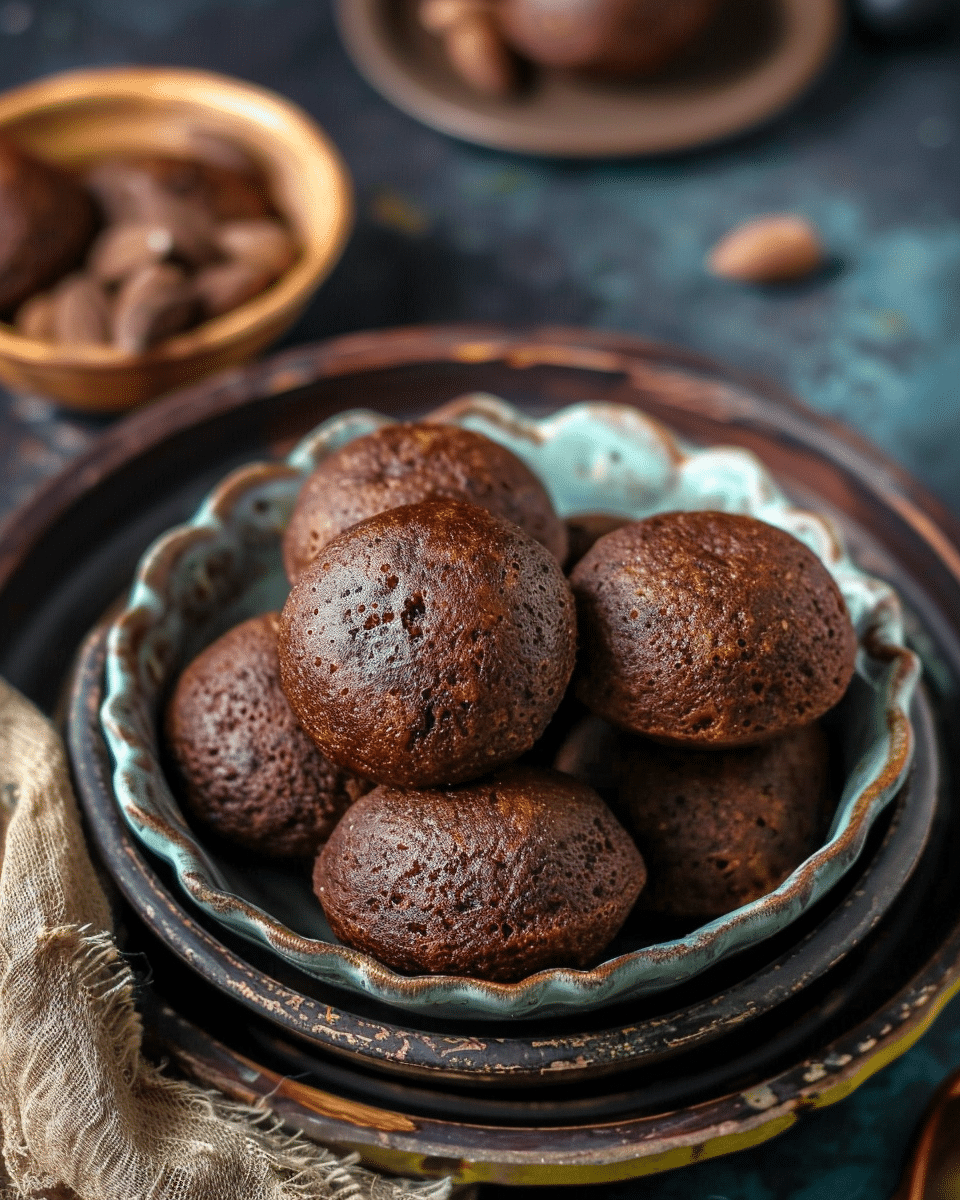
Looking for a quick, nutritious snack that satisfies your sweet tooth and boosts your energy? These no-bake protein balls are the perfect solution! Packed with wholesome ingredients and customizable to your taste, they are easy to make and even easier to enjoy. Whether you need a post-workout refuel or a midday pick-me-up, these protein balls are a tasty treat you can feel good about.
Ingredients:
1 cup oats (old-fashioned or quick oats)
1/2 cup peanut butter (or almond butter)
1/3 cup honey (or maple syrup)
1/4 cup chia seeds (optional)
1/2 cup protein powder (vanilla or chocolate)
1/4 cup flaxseed meal (optional)
1/4 cup mini chocolate chips (optional)
1 tsp vanilla extract
Instructions:
Mix Dry Ingredients: In a large bowl, combine oats, protein powder, chia seeds, flaxseed meal, and chocolate chips.
Add Wet Ingredients: Stir in peanut butter, honey, and vanilla extract until well combined. You may need to use your hands to mix thoroughly.
Form Balls: Using your hands, roll the mixture into small balls, about 1-2 tablespoons each, and place them on a baking sheet lined with parchment paper.
Chill: Refrigerate the protein balls for at least 30 minutes to firm up.
Store: Once firm, transfer the protein balls to an airtight container. Store in the refrigerator for up to a week or freeze for longer storage.
Serving Tips:
Perfect Portioning: When rolling the mixture into balls, aim for uniform sizes, about 1-2 tablespoons each, for consistent serving sizes.
Presentation: Arrange the protein balls on a serving dish or plate lined with parchment paper for a clean and attractive presentation.
Pairing Suggestions: Enjoy these protein balls with a glass of milk, a cup of yogurt, or alongside fresh fruit for a balanced snack.
On-the-Go: Pack them in a small container or snack bag for easy transport to the gym, work, or outdoor activities.
Storage Tips:
Refrigeration: Store the protein balls in an airtight container in the refrigerator for up to a week. This helps maintain their freshness and texture.
Freezing: For longer storage, freeze the protein balls in a freezer-safe container or bag. They can be stored for up to 3 months.
Layering: If stacking the protein balls in a container, separate layers with parchment paper to prevent sticking.
Thawing: When ready to eat frozen protein balls, transfer them to the refrigerator overnight to thaw. They’ll be ready to enjoy by snack time!
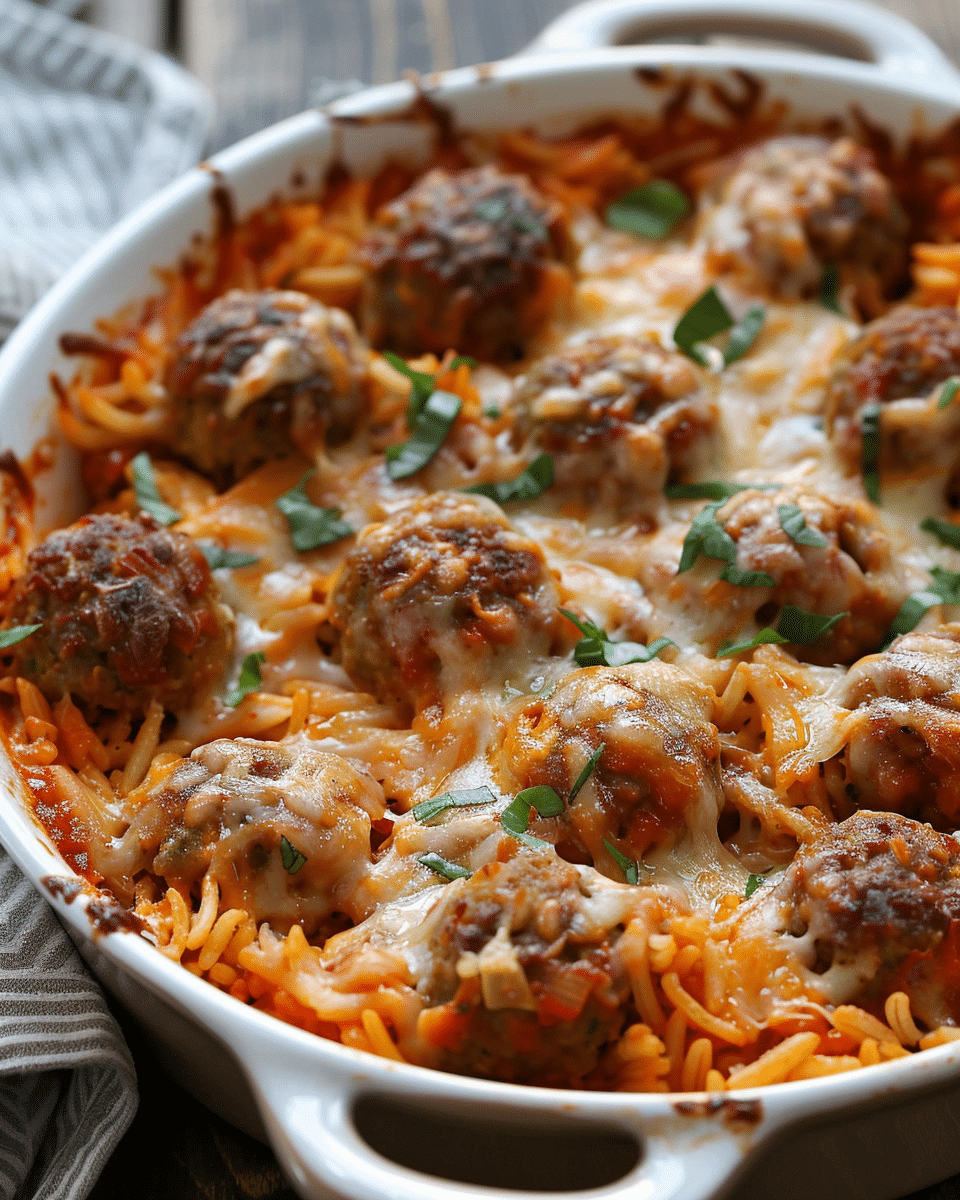
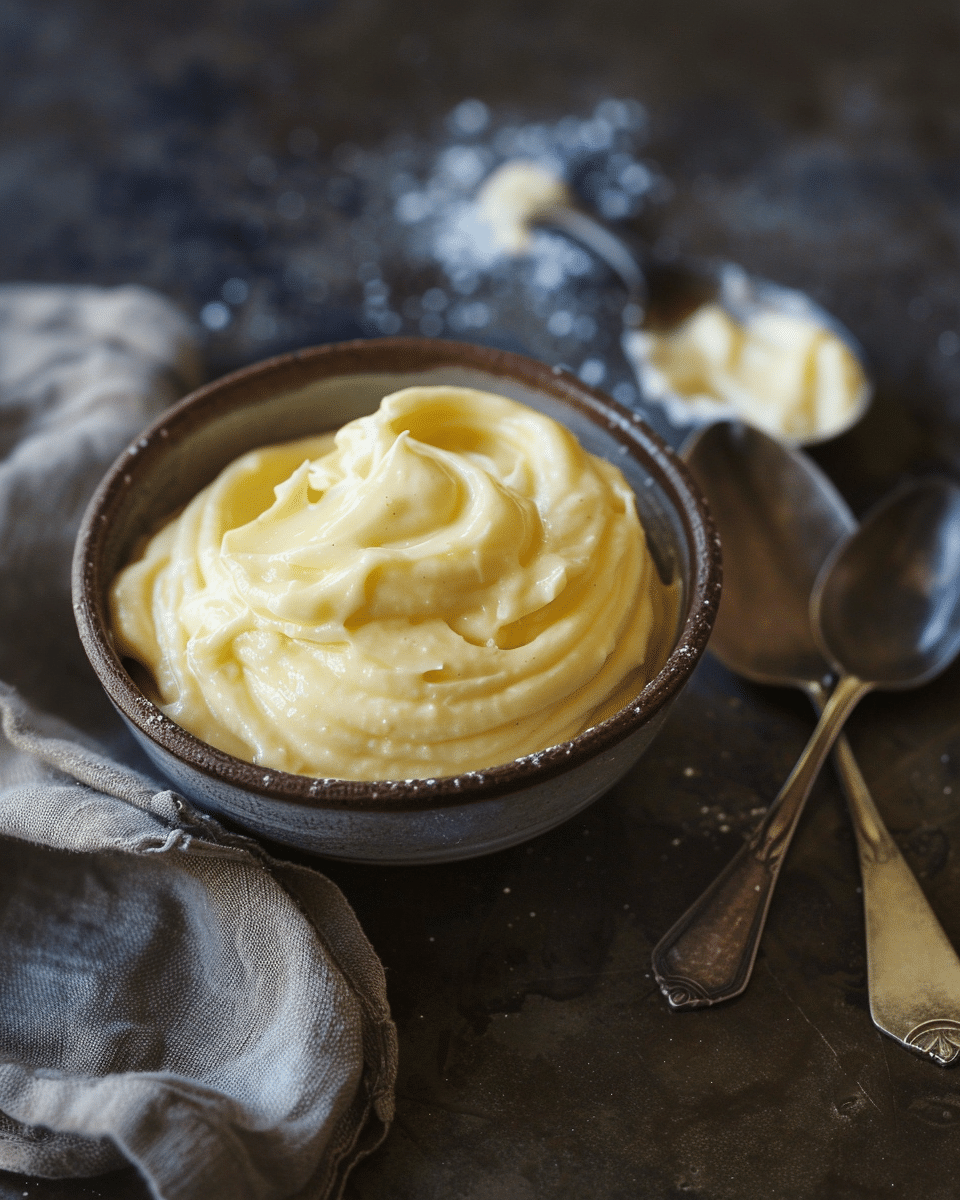
Related Recipes:
FAQs:
Can I substitute ingredients in the recipe?
Yes, you can easily customize the ingredients to suit your preferences or dietary needs. For example, swap peanut butter for almond butter, use maple syrup instead of honey, or choose a different flavor of protein powder. Feel free to add or omit ingredients like chia seeds, flaxseed meal, or chocolate chips based on your taste.
How can I adjust the consistency of the mixture?
If the mixture feels too dry, add a bit more honey or peanut/almond butter. Conversely, if it’s too wet, increase the amount of oats or protein powder. Adjusting the consistency ensures the balls hold together well when rolled.
Can I freeze no-bake protein balls?
Absolutely! Freezing is a great option for longer storage. Place the protein balls in a freezer-safe container or bag, separating layers with parchment paper to prevent sticking. They can be stored in the freezer for up to 3 months. Thaw them in the refrigerator overnight when you’re ready to enjoy them.
Are no-bake protein balls suitable for a specific diet?
These protein balls are versatile and can be adapted to various dietary preferences. They can fit into a high-protein diet, vegetarian or vegan lifestyles (depending on the ingredients used), and are often gluten-free if you use certified oats and check other ingredients for gluten content. Always check specific dietary needs and adjust ingredients accordingly.


