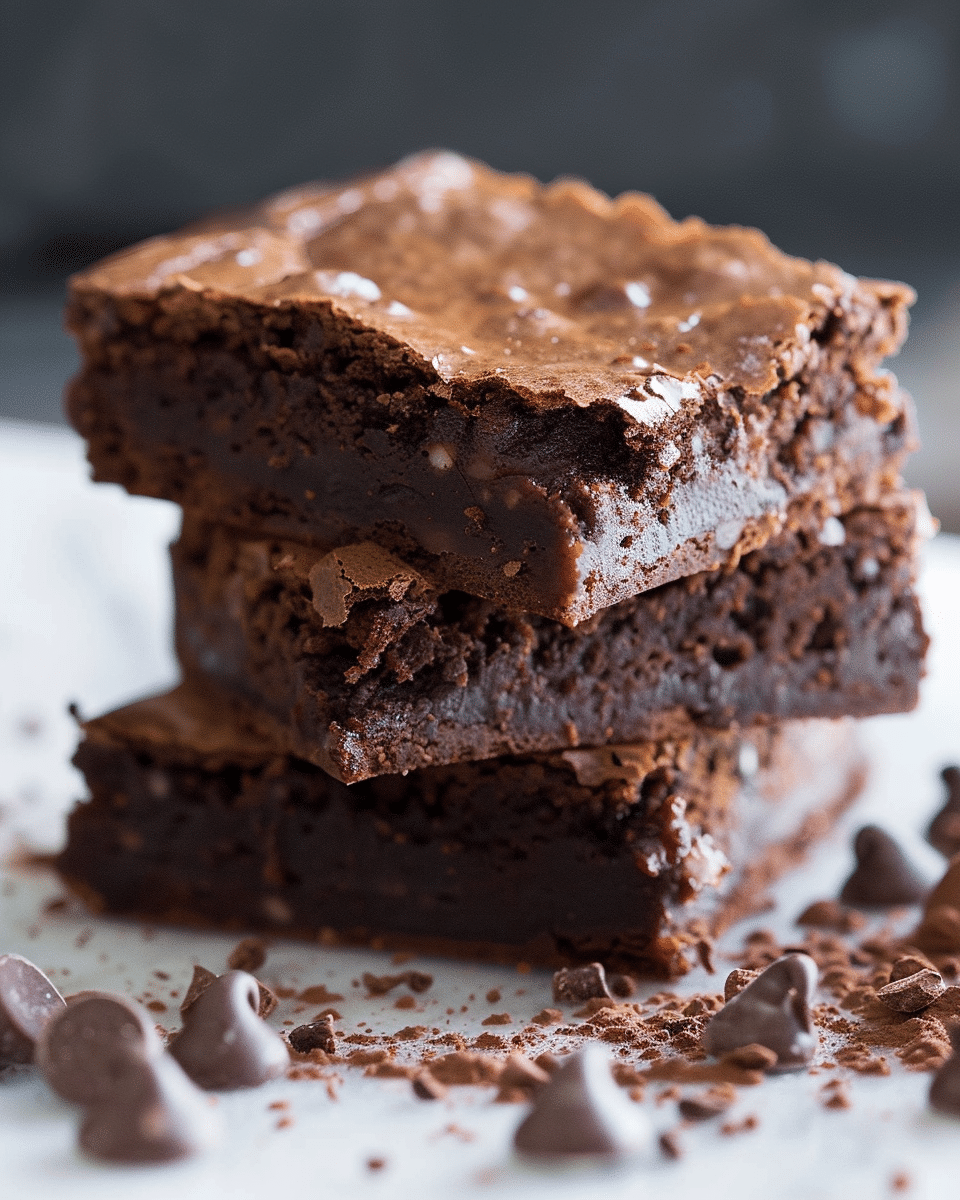
Looking for a delicious, fuss-free dessert that everyone will love? Try this Oreo Dump Cake—a rich, gooey treat that’s as simple to make as it is irresistible. Combining layers of classic Oreo cookies, creamy sweetened condensed milk, fluffy whipped topping, and indulgent chocolate cake mix, this dessert will quickly become a family favorite. Whether you’re hosting a gathering or simply craving something sweet, this easy-to-make cake is the perfect choice for any occasion.
Ingredients:
24 Oreo cookies
1 can (14 ounces) sweetened condensed milk
1 carton (8 ounces) frozen whipped topping, thawed
¾ cup (1½ sticks) cold butter, sliced into thin pats
1 package (15.25 ounces) chocolate fudge cake mix
Directions:
Preheat the Oven:
Start by preheating your oven to 350°F (175°C). Grease a 9×13-inch baking dish with non-stick cooking spray to ensure your cake doesn’t stick to the pan.
Layer the Oreo Cookies:
Arrange 24 Oreo cookies in a single layer at the bottom of the prepared baking dish. Don’t worry about breaking them—they’ll form a delicious base for the cake.
Add the Sweetened Condensed Milk:
Evenly pour the sweetened condensed milk over the layer of Oreos. The milk will soak into the cookies and create a rich, creamy texture.
Spread the Whipped Topping:
Next, spread the thawed whipped topping over the condensed milk layer. Make sure the topping covers the surface evenly, creating a fluffy layer atop the other ingredients.
Sprinkle the Cake Mix:
Take the chocolate fudge cake mix and sprinkle it evenly over the whipped topping. There’s no need to mix it—just let it sit as a dry layer for now.
Add the Butter:
Slice the cold butter into thin pats and arrange them evenly on top of the cake mix. The butter will melt during baking, helping the cake to form a golden, crispy top.
Bake the Cake:
Bake the cake in your preheated oven for 40-45 minutes, or until the top is set and the edges are bubbly. You should see a golden, crispy top that’s slightly puffed.
Let it Cool and Serve:
Once your cake is done, remove it from the oven and let it cool for 5-10 minutes. Serve warm with a scoop of vanilla ice cream or a drizzle of chocolate syrup for extra indulgence.
Serving Tips:
Serve Warm: Oreo Dump Cake is at its best when served warm. The gooey, melt-in-your-mouth texture is perfect with a scoop of vanilla ice cream or a drizzle of chocolate syrup. You can also top it with whipped cream or even some crushed Oreos for added crunch.
Portion Control: While it’s tempting to eat a large portion, this cake is rich and indulgent. Cut into small squares to ensure everyone gets a satisfying bite without overindulging.
Pairing Suggestions: The richness of Oreo Dump Cake pairs wonderfully with a cup of coffee or milk. If you’re serving it at a party, it complements other sweet treats like brownies or fruit salad.
Toppings and Add-ins: Get creative with additional toppings! Consider adding a few chocolate chips, a sprinkle of crushed Oreos, or even mini marshmallows for added texture and flavor.
Storage Tips:
Storing Leftovers: If you have any leftovers, store them in an airtight container at room temperature for up to 3 days. The cake will remain soft and gooey, so you can enjoy it for a few days after making it.
Refrigeration: If you want to keep it fresh longer, store the leftover cake in the fridge for up to 5 days. The whipped topping and condensed milk may harden a little, but it will still taste great.
Freezing: Oreo Dump Cake can be frozen for up to 3 months. To freeze, allow the cake to cool completely, then wrap it tightly with plastic wrap or foil before placing it in an airtight container. To serve, let it thaw overnight in the fridge and reheat in the oven for 10-15 minutes at 350°F (175°C) until warm.
Reheating: To bring back the gooey texture, reheat your leftover cake in the microwave for 20-30 seconds per serving, or in the oven at 350°F (175°C) for 10-15 minutes until warm.
Related Recipes:
FAQs:
Conclusion:
If you’re craving something sweet, easy, and delicious, look no further than this Oreo Dump Cake. With its irresistible combination of Oreos, chocolate cake, and whipped topping, it’s the perfect dessert for any occasion. Whether you’re hosting a party or just indulging in a treat for yourself, this dessert is sure to please everyone at the table.
📖 Recipe:
Print
Oreo Dump Cake
- Total Time: 50 minutes
- Yield: 12 servings
- Diet: Vegetarian
Description
Indulge in a rich and gooey Oreo Dump Cake, an easy dessert made with layers of Oreos, sweetened condensed milk, whipped topping, and chocolate cake mix, topped with buttery perfection. Perfect for gatherings, weeknight treats, or any special occasion!
Ingredients
24 Oreo cookies
1 can (14 ounces) sweetened condensed milk
1 carton (8 ounces) frozen whipped topping, thawed
1 package (15.25 ounces) chocolate fudge cake mix
¾ cup (1½ sticks) cold butter, sliced into thin pats
Instructions
- Preheat the oven to 350°F (175°C). Grease a 9×13-inch baking dish with non-stick cooking spray.
- Arrange Oreo cookies in a single layer at the bottom of the dish.
- Evenly pour the sweetened condensed milk over the cookies.
- Spread the thawed whipped topping over the condensed milk in an even layer.
- Sprinkle the dry chocolate fudge cake mix over the whipped topping.
- Place the butter slices evenly on top of the cake mix, covering as much as possible.
- Bake for 40-45 minutes, or until the top is set and the edges are bubbly.
- Let cool for 5-10 minutes and serve warm. Optionally, top with vanilla ice cream or chocolate syrup.
Notes
Use flavored Oreos like Golden Oreos for a twist.
For added texture, sprinkle chocolate chips or crushed Oreos on top before baking.
Leftovers can be stored in an airtight container for up to 3 days at room temperature or 5 days in the fridge.
- Prep Time: 10 minutes
- Cook Time: 40 minutes
- Category: Dessert
- Method: Baking
- Cuisine: American
Nutrition
- Serving Size: 12 servings
- Calories: Approximately 500 kcal per serving


