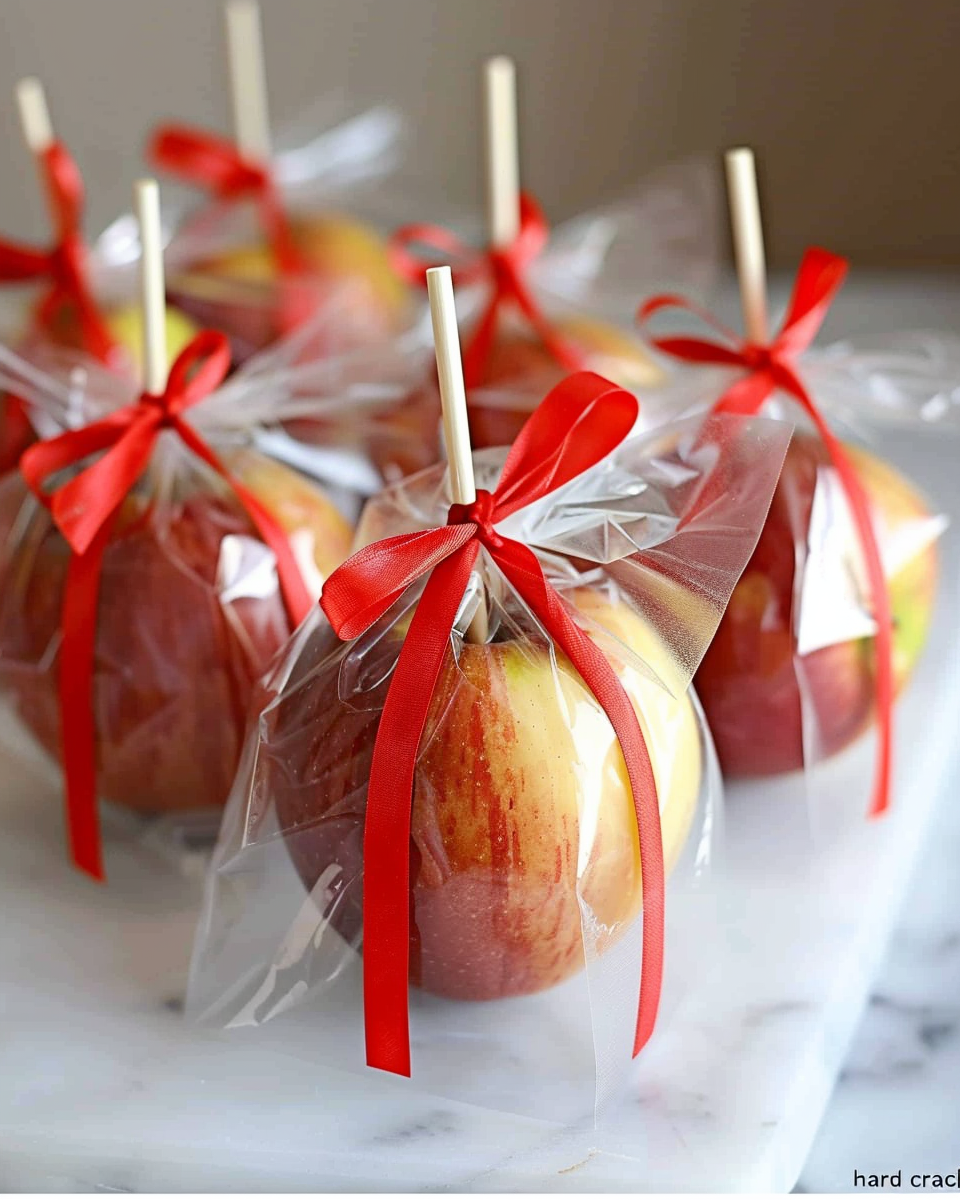
The Best Candy Apple Bags are a delightful treat that combines the crispness of fresh apples with a sweet, shiny candy coating. Perfect for gifting, these candy apples make a stunning presentation for any occasion. With easy-to-follow instructions, you can create beautiful candy apple bags that will impress friends and family. Indulge in this nostalgic treat and bring a touch of sweetness to your celebrations
Ingredients:
Crisp, sweet apples (Granny Smith, Honeycrisp, or Fuji)
Candy coating (store-bought or homemade using sugar, water, corn syrup, and red food coloring)
Wooden skewers or popsicle sticks
Candy apple bags for wrapping
Twist ties, ribbons, or decorative string to secure the bags
Directions:
Prepare the Apples:
Start by washing and drying the apples thoroughly. This step is crucial as it removes any wax that might prevent the candy coating from sticking properly. Once clean, insert wooden skewers firmly into the tops of the apples.
Make the Candy Coating:
You have two options for candy coating: a store-bought kit or a homemade mixture. If you’re making it yourself, combine sugar, water, and corn syrup in a saucepan. Bring this mixture to a boil, and once it reaches the desired temperature, add red food coloring for that classic candy apple hue.
Dip the Apples:
Once your candy mixture reaches the “hard crack” stage (300°F), it’s time to dip! Carefully dip each apple into the hot candy coating, twisting as you lift it out to ensure an even coat. Place the coated apples on parchment paper to cool and allow the coating to harden.
Wrap the Candy Apples:
After the candy coating has fully set, it’s time to wrap your apples. Slide each apple into a candy apple bag and secure it with a twist tie, decorative ribbon, or string. This not only makes them look festive but also keeps them fresh.
Add Decorative Touches:
To elevate the presentation, customize your candy apple bags with tags, stickers, or glittery ribbons. These small details can make your gifts extra special, whether for holidays, birthdays, or any celebratory event.
Serving Tips:
Presentation Matters: Arrange the candy apples on a decorative platter or cake stand for an eye-catching display. You can even use colorful paper or fabric underneath to enhance the visual appeal.
Add a Personal Touch: Consider labeling each apple with a tag that includes the flavor or a sweet message. This is especially nice for parties or gift-giving.
Pair with Other Treats: Serve the candy apples alongside other sweet treats like caramel popcorn, chocolate-covered pretzels, or mini cupcakes for a festive dessert table.
Cutting for Sharing: If you want to share them with a group, consider cutting the apples into wedges. This makes them easier to eat and share while still keeping the candy coating intact.
Storage Tips:
Cool and Dry Environment: Store your candy apples in a cool, dry place to prevent the candy coating from becoming sticky. Avoid areas with high humidity or direct sunlight.
Use Airtight Containers: If you need to store them for more than a day, place the wrapped candy apples in an airtight container. This will help maintain their freshness and protect them from any potential damage.
Refrigeration: While it’s generally not necessary to refrigerate candy apples, if you live in a very warm climate, you may choose to do so. Just be aware that refrigeration can sometimes make the candy coating less crisp.
Avoid Overlapping: When storing, make sure the apples do not touch each other to prevent the candy coating from sticking together or getting damaged.
Best Consumed Fresh: For the best taste and texture, candy apples are best enjoyed within a few days of making them. However, if stored properly, they can last up to a week.
Related Recipes:
FAQs:
Conclusion:
Creating the best candy apple bags is a fun and rewarding process that anyone can enjoy. With just a few simple ingredients and steps, you can craft beautiful, mouthwatering gifts that will impress friends and family alike. So, gather your supplies and start making these delightful candy apples today!
📖 Recipe:
Print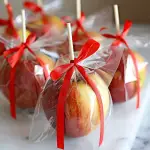
The Best Candy Apple Bags
- Total Time: 30 minutes
- Yield: 6 servings
- Diet: Vegetarian
Description
Indulge in the delightful sweetness of homemade candy apples with this easy recipe! Perfect for gifting and festive occasions, these beautiful candy-coated apples are a nostalgic treat that everyone will love. Follow our simple instructions to create stunning candy apple bags that are sure to impress!
Ingredients
Crisp, sweet apples (Granny Smith, Honeycrisp, or Fuji)
Candy coating (store-bought or homemade using sugar, water, corn syrup, and red food coloring)
Wooden skewers or popsicle sticks
Candy apple bags for wrapping
Twist ties, ribbons, or decorative string to secure the bags
Instructions
- Prepare the Apples: Wash and dry the apples thoroughly, removing any wax coating. Insert skewers firmly into the tops.
- Make the Candy Coating: If using a kit, follow package instructions. For homemade, combine sugar, water, and corn syrup in a saucepan. Boil, then add red food coloring.
- Dip the Apples: Heat the candy mixture to the “hard crack” stage (300°F). Dip each apple, twisting to coat evenly, then place on parchment paper to cool.
- Wrap the Candy Apples: Once set, slide apples into candy apple bags and secure with twist ties or ribbons.
- Decorate: Personalize the bags with tags or stickers for a festive touch.
Notes
Use fresh, crisp apples for the best results.
Customize the coating with flavor extracts or toppings like nuts or sprinkles.
- Prep Time: 20 minutes
- Cook Time: 10 minutes
- Category: Dessert / Treat
- Method: Candy Making / Dipping
- Cuisine: American
Nutrition
- Serving Size: 6 servings
- Calories: 220 kcal per apple


