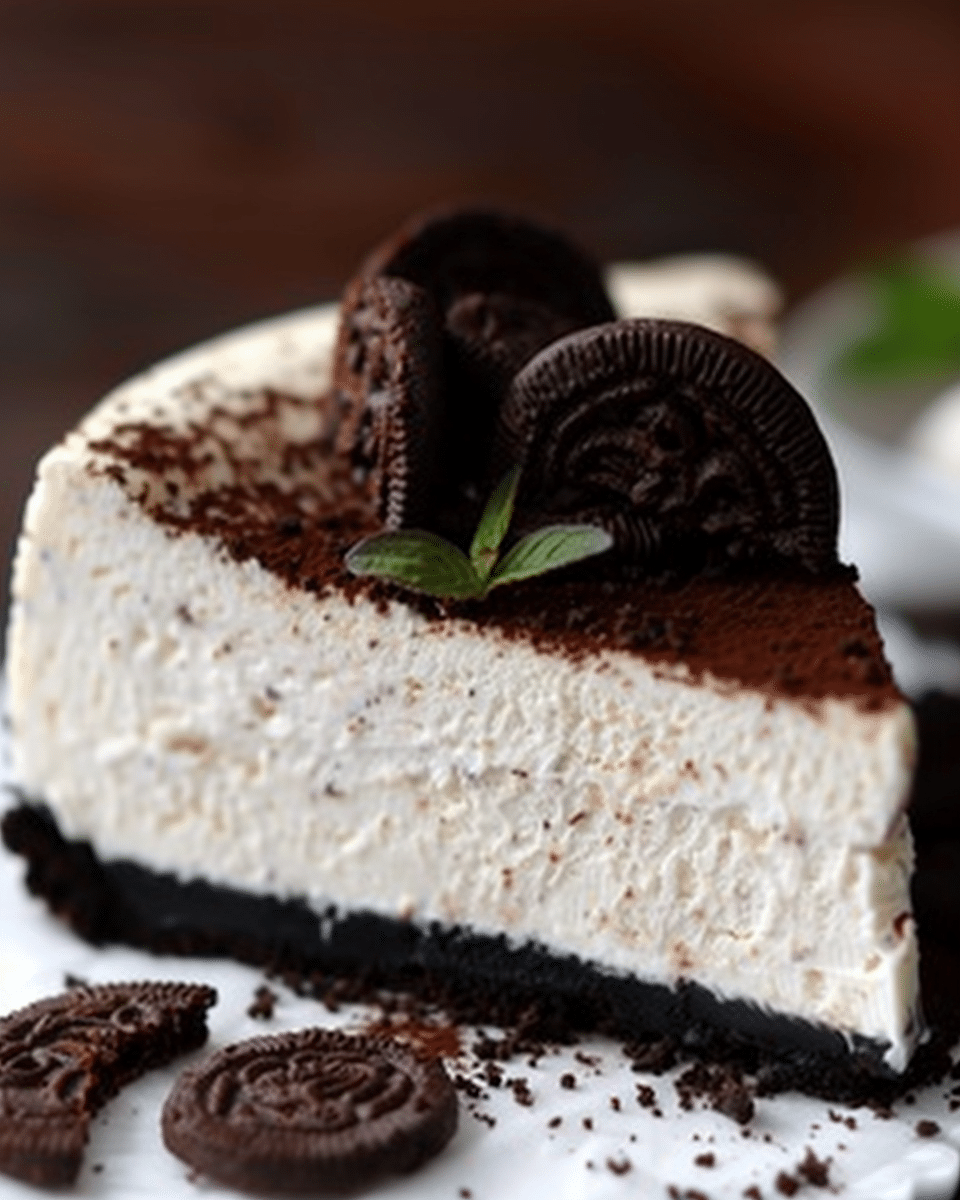
Are you ready to dive into a dessert that promises to captivate your taste buds with its irresistible combination of flavors? The Chocolate Peanut Butter Pie is not just any ordinary dessert. It’s a harmonious blend of rich chocolate and creamy peanut butter, all encased in a crunchy Oreo crust. This no-bake delight is perfect for any occasion, whether it’s a family gathering, a special celebration, or simply a treat for yourself after a long day. Let’s explore how to create this masterpiece, step by step.
Ingredients You’ll Need
For the Oreo Crust:
- 25 Oreo Cookies
- 5 Tablespoons of unsalted butter, melted
For the Chocolate Ganache:
- 6 ounces of semi-sweet chocolate
- ¾ cup of heavy whipping cream
- 1 Tablespoon of butter
For the Creamy Filling:
- 1 package (8 ounces) of cream cheese, softened to room temperature
- ¾ cup of creamy peanut butter
- ⅓ cup of granulated sugar
- 1 cup (4 ounces) of Cool Whip, thawed
Easy-to-Follow Directions
Step 1: Preparing the Oreo Crust Start by transforming your Oreos into a fine crumb using a food processor. Then, blend in the melted butter until the mixture is well combined. Press this mixture into the bottom and sides of a 9-inch pie plate, creating a firm base for your pie. Freeze this crust while you prepare the filling, ensuring it sets perfectly.
Step 2: Crafting the Ganache For the ganache, begin by placing the chocolate in a heat-proof bowl. In a saucepan, bring the whipping cream and tablespoon of butter to a simmer. Pour this hot mixture over the chocolate, let it stand for 2 minutes, then stir until you achieve a smooth and glossy ganache. Refrigerate it for about 30 minutes, or until it thickens slightly.
Step 3: Creating the Peanut Butter Filling In a mixing bowl, beat together the cream cheese, peanut butter, and sugar until the mixture is smooth and creamy. Gently fold in the Cool Whip, then spoon this delectable filling into your frozen Oreo crust. Smooth the top with a spatula to ensure an even layer.
Step 4: The Finishing Touch After chilling the pie for 30 minutes, pour the cooled ganache over the peanut butter filling. You can opt for a smooth layer or get creative with a swirl design. Refrigerate your masterpiece for at least 2 more hours, allowing the flavors to meld together beautifully.
Nutritional Information
Each serving of this decadent pie packs approximately 515 kcal, making it a luxurious treat best enjoyed in moderation. The recipe yields 8 servings, perfect for sharing with family and friends.
Related Recipes:
Ready to Serve
After the required chilling time, your Chocolate Peanut Butter Pie is ready to be served. This pie is not just a dessert; it’s like a giant Reese’s, offering a burst of chocolate and peanut butter in every bite. It’s a testament to the magical combination of these two beloved flavors, sure to satisfy any sweet tooth.
Whether you’re celebrating a special occasion or simply indulging in a sweet treat, this Chocolate Peanut Butter Pie is guaranteed to be a hit. Its no-bake nature makes it an easy and convenient option for dessert lovers of all skill levels. So, why wait? Dive into the delicious world of chocolate and peanut butter with this unforgettable pie.
Serving and Storage Tips for Chocolate Peanut Butter Pie
After meticulously crafting your Chocolate Peanut Butter Pie, it’s essential to know how to serve and store it properly to ensure every slice is as delightful as the first. Below are some expert tips to help you make the most out of this decadent dessert.
Serving Tips
- Chill Thoroughly: Ensure your pie is well-chilled before serving. This not only helps the layers set perfectly but also makes slicing easier. A minimum of 2 hours in the refrigerator is recommended, but overnight chilling can yield even better results.
- Warm Knife for Clean Slices: For clean and precise slices, dip your knife in hot water and wipe it dry before cutting into the pie. Repeat this step before each slice to ensure beautifully presented servings.
- Garnish Creatively: Elevate your dessert presentation with simple garnishes. A dollop of whipped cream, a sprinkle of crushed peanuts, chocolate shavings, or a drizzle of peanut butter can add an extra touch of elegance and flavor.
- Serve at the Right Temperature: While it’s best served chilled, letting the pie sit at room temperature for about 10 minutes before serving can enhance its flavors and texture, making it not too hard and more enjoyable to eat.
Storage Tips
- Refrigerate Leftovers: Store any leftovers in the refrigerator, covered with plastic wrap or in an airtight container. This pie keeps well for up to 4 days, ensuring you can enjoy its deliciousness for days after the initial serving.
- Freezing for Longevity: If you wish to extend the life of your pie, freezing is an excellent option. Wrap the pie tightly with plastic wrap, followed by a layer of aluminum foil to prevent freezer burn. Frozen, the pie can last for up to 1 month. Thaw overnight in the refrigerator before serving.
- Avoid Humidity and Heat: Keep the pie away from sources of heat and humidity to prevent the crust from becoming soggy and the filling from melting. The refrigerator’s middle shelf often provides the best environment.
- Refreshing the Pie: If the pie has been stored for a couple of days and you wish to refresh its texture, especially the crust, you can briefly place it in the refrigerator after letting it sit at room temperature for a few minutes. However, avoid doing this if the pie has been frozen and thawed, as it might affect the consistency of the filling.
By following these serving and storage tips, you can ensure that your Chocolate Peanut Butter Pie remains a delightful treat that impresses every time it’s served. Whether enjoying it immediately after preparation or savoring leftovers, these tips will help maintain its quality and taste.
FAQs
1. Can I make the Chocolate Peanut Butter Pie ahead of time?
Yes, you can certainly prepare this pie ahead of time. Its no-bake nature makes it an excellent choice for making in advance. You can prepare and refrigerate the pie a day or two before serving. In fact, chilling it overnight allows the flavors to meld together beautifully, making it even more delicious. Just ensure it’s covered properly in the refrigerator to prevent it from absorbing other food odors.
2. Is it possible to use natural peanut butter in this recipe?
While creamy, commercial peanut butter is recommended for its stable consistency and sweetness, you can use natural peanut butter if you prefer. Keep in mind that natural peanut butter may make the filling a bit denser and less sweet. If using unsweetened natural peanut butter, you might want to adjust the sugar amount to taste. Also, ensure the natural peanut butter is well-stirred to avoid oil separation in the pie.
3. Can I substitute Cool Whip with homemade whipped cream?
Yes, homemade whipped cream can be used as a substitute for Cool Whip in this recipe. To replace the 1 cup of Cool Whip, you can use 1 cup of heavy whipping cream, whipped with a tablespoon of sugar until stiff peaks form. This substitution may give the pie a slightly richer taste and a fresher, less stabilized texture, which some people prefer.
4. How do I store the pie if I want to freeze it for longer storage?
To freeze the Chocolate Peanut Butter Pie, wrap it tightly first with plastic wrap, ensuring no part of the pie is exposed to air. Then, add a layer of aluminum foil for extra protection against freezer burn. Label the pie with the freezing date. When you’re ready to enjoy it, thaw the pie overnight in the refrigerator. It’s best consumed within a month of freezing for optimal taste and texture. Remember, once thawed, do not refreeze the pie as it can affect the quality and consistency of the filling and crust.
📖 Recipe
Print
Chocolate Peanut Butter Pie
- Total Time: 2 hours 50 minutes
- Yield: 8 servings
- Diet: Vegetarian
Description
Dive into the decadent world of Chocolate Peanut Butter Pie, a no-bake dessert that combines creamy peanut butter and rich chocolate in a luscious filling, all nestled within a crunchy Oreo crust. Perfect for peanut butter and chocolate lovers alike, this pie is the ultimate treat for any occasion. Its simplicity and exquisite flavor profile make it a favorite among dessert aficionados. Follow our easy instructions to create a dessert that’s bound to impress at your next gathering.
Ingredients
For the Crust:
25 Oreo Cookies
5 Tablespoons unsalted butter, melted
For the Ganache:
6 ounces semi-sweet chocolate
¾ cup heavy whipping cream
1 Tablespoon butter
For the Filling:
1 package (8 ounces) cream cheese, softened to room temperature
¾ cup creamy peanut butter
⅓ cup granulated sugar
1 cup (4 ounces) Cool Whip, thawed
Instructions
- Begin with the crust by blending Oreos in a food processor until finely chopped. Gradually add melted butter and press the mixture into the bottom and sides of a 9-inch pie plate. Freeze while preparing the filling.
- For the ganache, place chocolate in a heat-proof bowl. Heat the whipping cream and butter in a saucepan until it simmers. Pour over the chocolate, let stand for 2 minutes, then stir until smooth. Refrigerate for about 30 minutes.
- Beat cream cheese, peanut butter, and sugar for the filling until well-combined. Fold in the whipped topping and spoon into the crust. Smooth the top with a spatula.
- Chill the pie for 30 minutes, then pour the cooled ganache over the filling. Refrigerate for at least 2 more hours before serving.
Notes
For a cleaner slice, dip your knife in hot water before cutting.
Substitute Cool Whip with homemade whipped cream for a richer taste.
Store leftovers in the refrigerator, covered, for up to 4 days.
- Prep Time: 20 minutes
- Cook Time: 0 minutes
- Category: Dessert
- Method: No Bake
- Cuisine: American