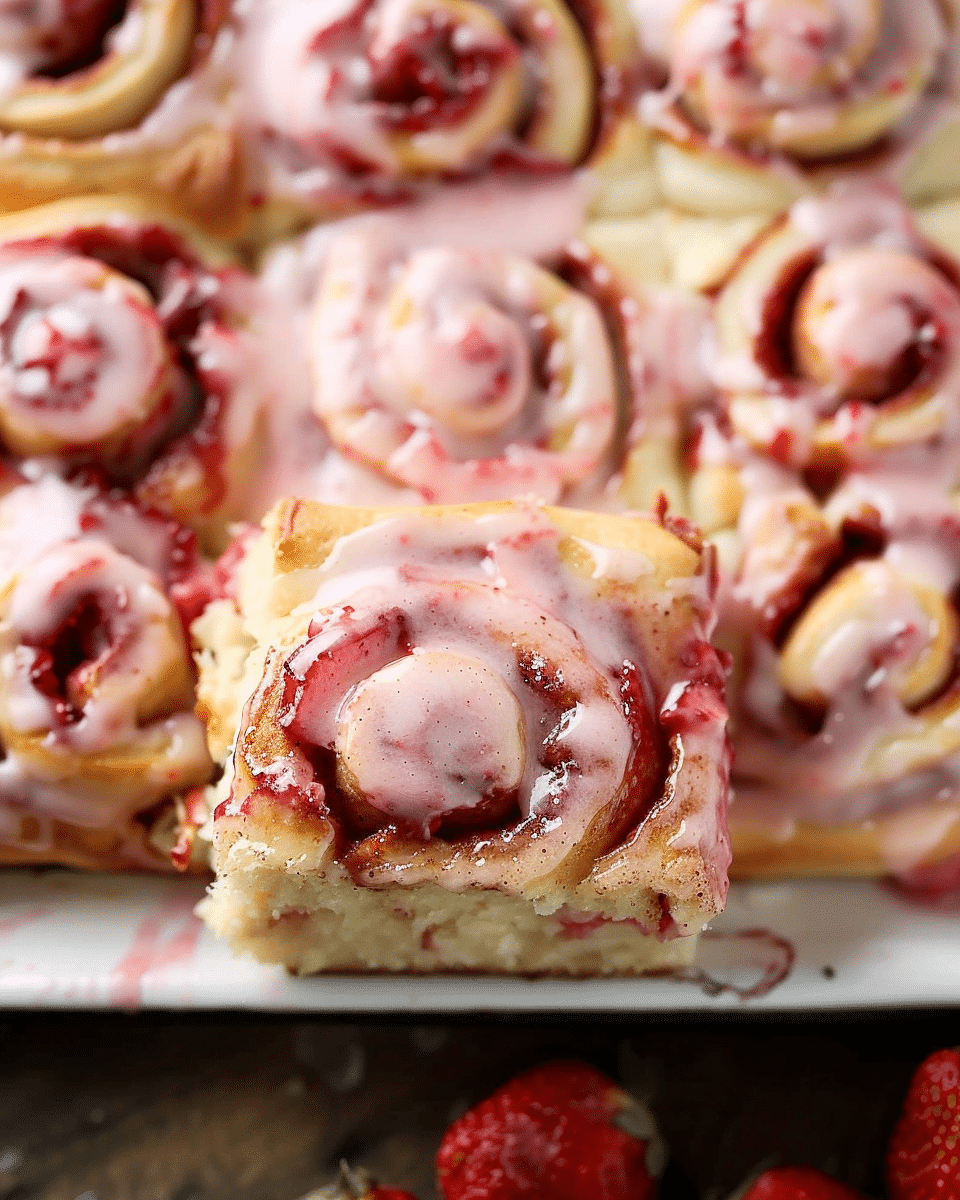
Looking for a delightful dessert that’s as charming as it is delicious? Look no further than these Mason Jar Lid Cherry Pies. Perfectly portioned and bursting with fruity flavor, these mini pies are not only easy to make but also a treat for both the eyes and the taste buds. Let’s dive into this simple yet scrumptious recipe that will have you reaching for seconds!
Ingredients:
1 (21 oz) can cherry pie filling
2 pre-made pie crusts
1 large egg, beaten
1 tablespoon granulated sugar
Instructions:
Preheat and Prep:
Preheat your oven to 375°F (190°C) and line a baking sheet with parchment paper for easy cleanup.
Prepare the Pie Crusts:
Roll out the pre-made pie crusts on a lightly floured surface. Using a mason jar lid as a template, cut out circles of dough. Each pie will require two circles (one for the bottom and one for the top).
Assemble the Pies:
Place half of the dough circles into the mason jar lids, gently pressing to fit. Spoon approximately 2 tablespoons of cherry pie filling into each lid.
Top and Seal:
Cover the cherry filling with the remaining dough circles. Use a fork to crimp the edges together, ensuring the pies are sealed shut.
Egg Wash and Sugar:
Brush the tops of the pies with the beaten egg for a golden finish. Sprinkle granulated sugar over each pie to add a sweet crunch.
Bake to Perfection:
Arrange the assembled pies on the prepared baking sheet and bake in the preheated oven for 20-25 minutes, or until the crusts turn a glorious golden brown.
Cool and Serve:
Allow the pies to cool for a few minutes in the mason jar lids before carefully removing them. Serve these miniature delights warm or at room temperature for a delightful treat.
Serving and Storage Tips:
Serving Suggestions:
These Mason Jar Lid Cherry Pies are best served warm with a dollop of whipped cream or a scoop of vanilla ice cream for an extra indulgent treat.
Pair them with a hot cup of coffee or tea for a cozy dessert experience, or serve them alongside brunch for a sweet start to the day.
Make-Ahead Option:
You can prepare these mini pies ahead of time and store them in an airtight container in the refrigerator for up to 2 days before baking.
When ready to serve, simply brush with the egg wash, sprinkle with sugar, and bake according to the instructions for freshly baked pies anytime.
Freezing Instructions:
To freeze unbaked pies, assemble them as directed but do not brush with egg wash or sprinkle with sugar.
Place the assembled pies on a baking sheet lined with parchment paper and freeze until firm. Once frozen, transfer them to a freezer-safe bag or container for long-term storage, for up to 1 month.
When ready to bake, simply brush with egg wash, sprinkle with sugar, and bake from frozen, adding a few extra minutes to the baking time until golden brown and bubbly.
Reheating Leftovers:
If you have any leftover pies, you can reheat them in a preheated oven at 350°F (175°C) for 10-15 minutes until warmed through.
Alternatively, you can microwave individual pies for 20-30 seconds on high power until heated to your liking.
Storage Tips:
Store any leftover baked pies in an airtight container at room temperature for up to 2 days.
For longer storage, refrigerate leftover pies for up to 4-5 days. Simply reheat as needed before serving.
To maintain their freshness and prevent sogginess, avoid stacking the pies on top of each other during storage.
Related Recipes:
FAQs:
Can I use homemade pie crust instead of pre-made pie crusts?
Absolutely! Homemade pie crusts can add a personal touch and often taste even better. Simply prepare your favorite pie crust recipe and roll it out as directed in the instructions. The rest of the process remains the same.
Can I use other types of fruit fillings for these mini pies?
Yes, you can substitute the cherry pie filling with other fruit fillings such as apple, blueberry, or peach. Make sure the filling is not too watery to prevent the pies from becoming soggy. Canned or homemade fruit fillings work well.
Do I need to grease the mason jar lids before placing the dough in them?
Greasing the mason jar lids is not necessary because the pie crust contains enough fat to prevent sticking. However, if you are concerned about sticking, you can lightly spray the lids with non-stick cooking spray or brush them with a little melted butter.
Can I make these pies without the mason jar lids?
Yes, if you don’t have mason jar lids, you can use a muffin tin or mini tart pans as an alternative. The method remains the same: cut out dough circles, fill with pie filling, cover with another dough circle, and crimp the edges before baking. Adjust the baking time as needed based on the size and type of the pan used.
Conclusion:
These Mason Jar Lid Cherry Pies are a testament to the fact that great things come in small packages. With their flaky crusts and luscious cherry filling, they’re sure to become a favorite among family and friends. Whether enjoyed as a dessert for a special occasion or simply as a sweet indulgence, these mini pies are bound to leave a lasting impression. Give this recipe a try and let the delightful flavors speak for themselves!
📖 Recipe:
Print
Mason Jar Lid Cherry Pies
5 Stars 4 Stars 3 Stars 2 Stars 1 Star
No reviews
- Author: Isabella
- Total Time: 40 Minutes
- Yield: 8 mini pies
- Diet: Vegetarian
Description
Delight in these easy-to-make Mason Jar Lid Cherry Pies, perfect for any occasion. With a flaky crust and a sweet cherry filling, these miniature pies are a hit. Learn how to create these charming treats with simple ingredients and straightforward instructions.
Ingredients
2 pre-made pie crusts
1 (21 oz) can cherry pie filling
1 large egg, beaten
1 tablespoon granulated sugar
Instructions
- Preheat oven to 375°F (190°C) and line a baking sheet with parchment paper.
- Roll out pie crusts on a lightly floured surface. Using a mason jar lid as a template, cut out circles of dough. Each pie needs two circles.
- Place half of the dough circles into the mason jar lids, pressing gently to fit. Fill each with about 2 tablespoons of cherry pie filling.
- Top with a second dough circle. Use a fork to crimp the edges, sealing the pies.
- Brush the tops with beaten egg and sprinkle with granulated sugar.
- Place pies on the baking sheet and bake for 20-25 minutes until crusts are golden brown.
- Cool in lids for a few minutes before removing. Serve warm or at room temperature.
Notes
For a personal touch, homemade pie crust can be used.
Experiment with different fruit fillings such as apple or blueberry.
Store leftovers in an airtight container at room temperature for up to 2 days, or refrigerate for up to 4-5 days.
- Prep Time: 15 Minutes
- Cook Time: 25 Minutes
- Category: Dessert
- Method: Baking
- Cuisine: American
Nutrition
- Serving Size: 8 mini pies
- Calories: 200 Kcal


