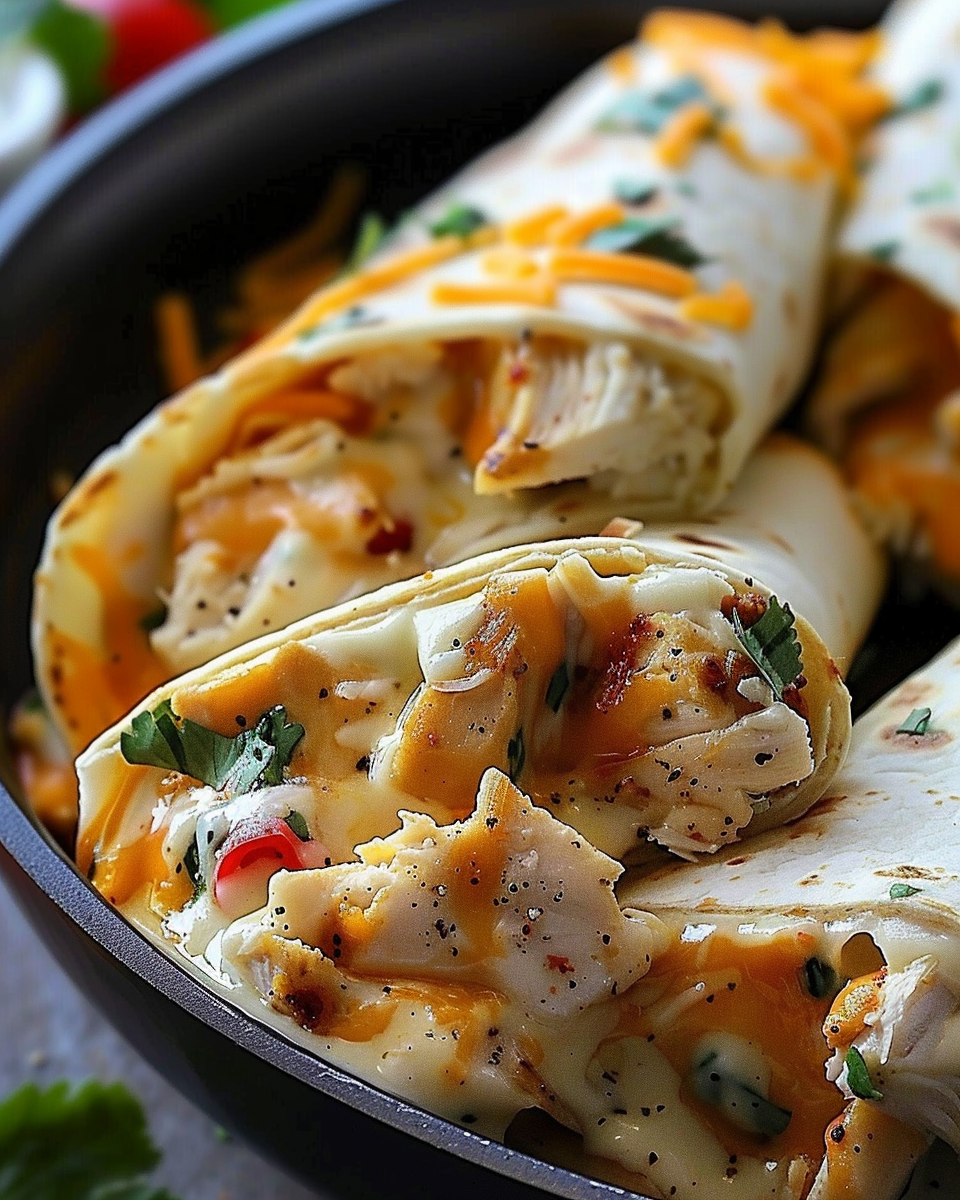
Looking for a delicious, easy-to-make dinner that’s perfect for any night of the week? These Cheesy Garlic Chicken Wraps are the answer! Filled with tender, garlic-seasoned chicken, gooey melted cheese, and fresh veggies, this dish delivers a satisfying meal in under 30 minutes. Whether you’re feeding your family or looking for a quick meal after a busy day, these wraps are sure to impress.
Ingredients:
2 cups cooked, shredded chicken (rotisserie chicken works great!)
1 cup shredded mozzarella cheese
1/2 cup shredded cheddar cheese
1/4 cup cream cheese, softened
1/4 cup mayonnaise (or sour cream, for a tangy twist)
2 teaspoons garlic powder
1/2 teaspoon onion powder
1/2 teaspoon paprika
1/4 teaspoon salt (more to taste)
1/4 teaspoon black pepper
4 large tortillas or wraps
1 cup baby spinach or lettuce (optional for added crunch)
1/2 cup diced tomatoes (optional for freshness)
Instructions:
Prepare the Filling:
In a large mixing bowl, combine the shredded chicken, mozzarella cheese, cheddar cheese, softened cream cheese, and mayonnaise (or sour cream). Add garlic powder, onion powder, paprika, salt, and black pepper. Mix everything together until well combined. This creamy, cheesy chicken mixture is the base of your wrap and is packed with flavor!
Assemble the Wraps:
Lay a tortilla flat on a clean surface. Scoop about 1/4 of the chicken mixture onto the center of the tortilla. If you’re using optional toppings like baby spinach or lettuce for crunch and freshness, or diced tomatoes for a burst of flavor, add them on top of the chicken mixture. Fold in the sides of the tortilla and roll it tightly into a wrap.
Cook the Wraps:
Heat a nonstick skillet over medium heat. Place the wrap seam-side down and cook for 2-3 minutes on each side, or until the tortilla is golden brown and the cheese inside is melted and bubbly. This step ensures your wraps are crispy on the outside and gooey on the inside.
Serve and Enjoy:
Slice the wraps in half and serve warm. These wraps are great on their own or paired with a dipping sauce like ranch or your favorite hot sauce. For a more complete meal, serve them alongside a fresh side salad.
Serving Tips:
Pair with Dipping Sauces: These wraps are delicious on their own, but they can be elevated with the right dipping sauces. Consider serving them with ranch dressing, creamy garlic sauce, honey mustard, or a tangy barbecue sauce.
Add a Side Salad: For a well-rounded meal, serve the wraps with a fresh side salad. A simple green salad or a side of coleslaw works perfectly to balance the richness of the wraps.
Customize with Veggies: You can easily enhance these wraps by adding extra veggies like sliced avocado, bell peppers, or cucumbers for added texture and flavor. These additions bring a burst of freshness that complements the savory chicken and cheese.
Cut into Smaller Portions: If you’re serving these wraps as appetizers or snacks, cut them into smaller bite-sized pieces for easy sharing. They’re great for parties or gatherings.
Storage Tips:
Storing Leftovers: If you have any leftover wraps, wrap them tightly in plastic wrap or foil and store them in an airtight container in the refrigerator. They’ll keep for up to 2-3 days.
Reheating: To reheat the wraps and keep them crispy, place them in a preheated skillet over medium heat. Cook each side for 2-3 minutes until the outside is golden brown and the cheese inside is melted. You can also reheat them in the oven at 350°F (175°C) for 10-15 minutes, or until heated through.
Freezing: If you want to make a big batch and freeze some for later, you can wrap each individual wrap in foil and place them in a freezer-safe bag or container. They’ll keep in the freezer for up to 2 months. To reheat from frozen, place the wrapped wraps in the oven at 375°F (190°C) for about 20-25 minutes, or until heated through.
Storage of Filling: If you have extra filling left over, you can store it in the fridge for up to 3 days. Use it in sandwiches, on top of salads, or as a dip with crackers.
Related Recipes:
- Cheesy Chicken Alfredo Wraps
- Cheesy Chili Dog Wraps – A Crowd-Pleasing Recipe
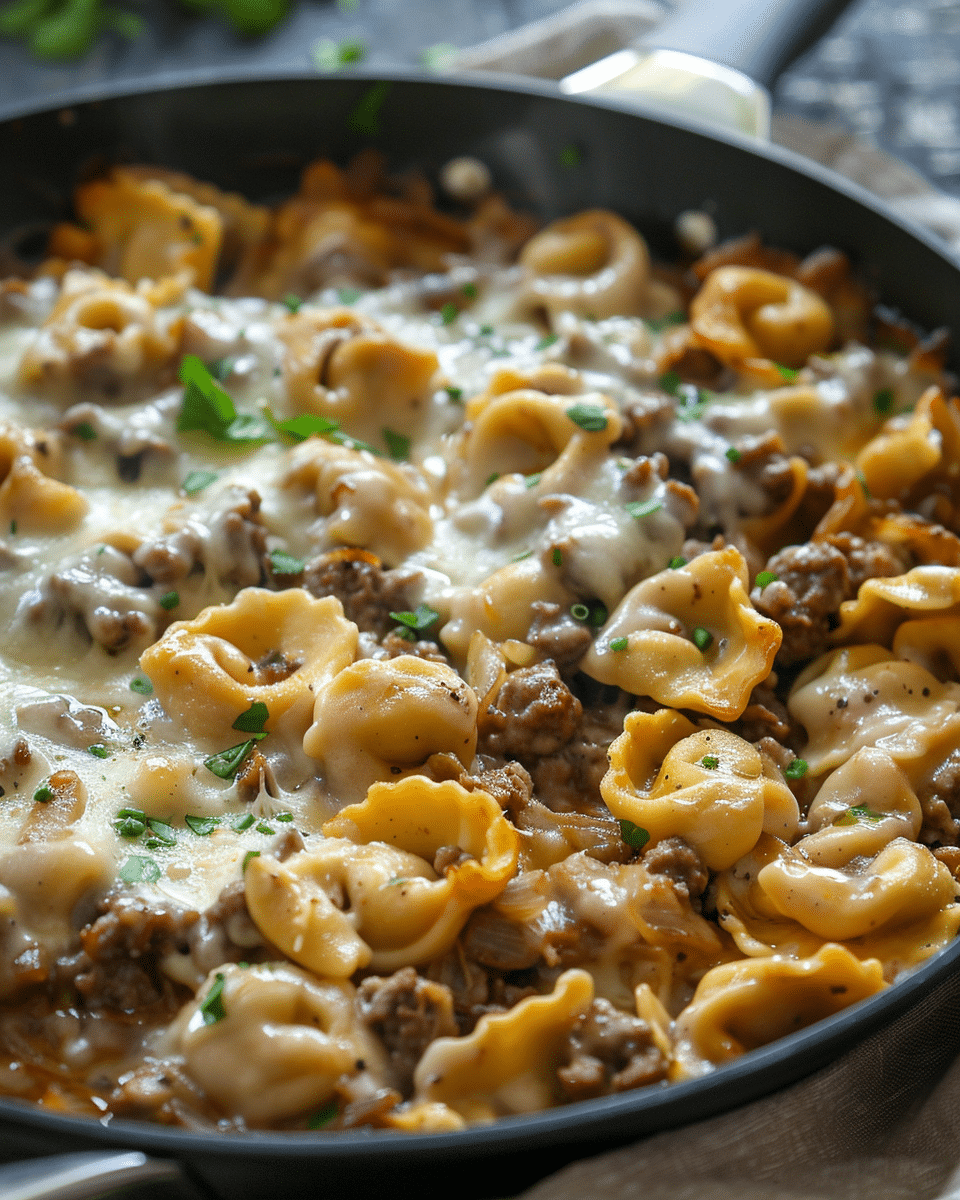
- Cheesy Ground Beef Pasta Skillet
FAQs:
Can I use a different type of meat instead of chicken?
Absolutely! These wraps are versatile and can be made with shredded turkey, cooked ground beef, or even diced ham. For a vegetarian option, try substituting with cooked and seasoned tofu, tempeh, or a mix of sautéed vegetables.
Can I make these wraps ahead of time?
Yes! You can assemble the wraps ahead of time and store them in the refrigerator for up to 24 hours before cooking. If you want to prep even earlier, prepare the filling and store it in an airtight container in the fridge for up to 3 days. Assemble and cook the wraps fresh when you’re ready to eat.
How do I make the wraps gluten-free?
To make these wraps gluten-free, simply use gluten-free tortillas or wraps, which are widely available in most grocery stores. Double-check all other ingredient labels, such as seasonings, to ensure they’re certified gluten-free.


