
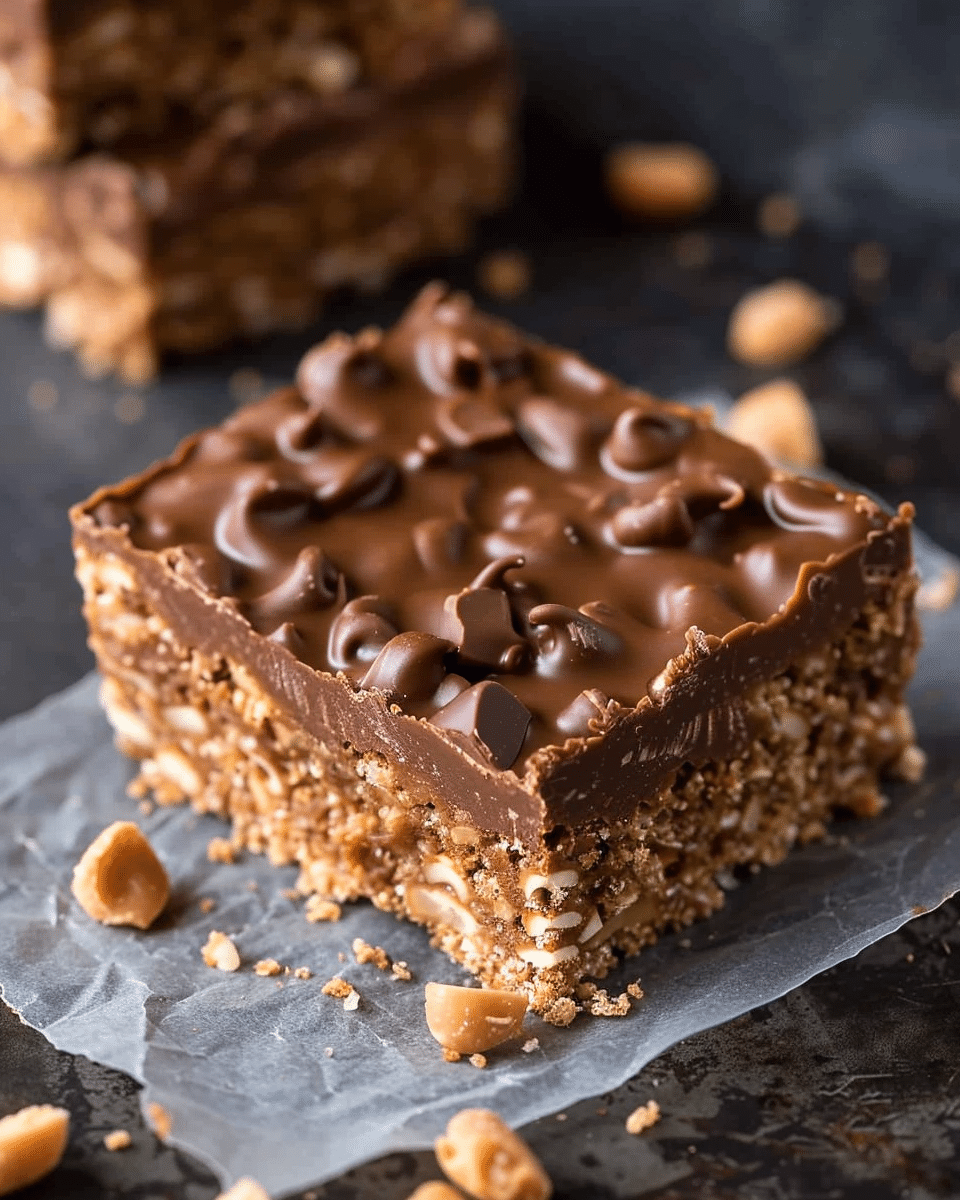
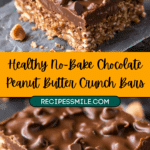
Looking for a delicious and guilt-free treat that’s as easy as it is satisfying? These Healthy No-Bake Chocolate Peanut Butter Crunch Bars are just what you need! Perfectly crunchy, with a delightful combination of chocolate and peanut butter, these bars are vegan, gluten-free, and a breeze to make. Whether you’re craving a wholesome snack or a sweet dessert, these bars fit the bill!
Ingredients:
1 cup smooth peanut butter
1/2 cup maple syrup or agave nectar
1/4 cup coconut oil
1 tsp vanilla extract
3 cups crispy rice cereal
1 1/2 cups dairy-free chocolate chips
1/4 cup peanut butter (for topping)
Directions:
Prepare the Pan: Line an 8×8-inch baking pan with parchment paper and set aside. This will make it easy to remove the bars once they are set.
Make the Base: In a large microwave-safe bowl, combine the smooth peanut butter, maple syrup (or agave nectar), and coconut oil. Heat in the microwave in 20-second increments, stirring in between, until the mixture is fully melted and smooth.
Add Flavor: Stir in the vanilla extract until well incorporated.
Mix in the Cereal: Add the crispy rice cereal to the bowl and mix until the cereal is fully coated with the peanut butter mixture.
Form the Bars: Transfer the mixture to the prepared baking pan and press it down firmly to create an even layer.
Prepare the Chocolate Topping: In a separate microwave-safe bowl, melt the dairy-free chocolate chips in 20-second increments, stirring in between, until smooth.
Top with Chocolate: Pour the melted chocolate over the cereal mixture in the pan, spreading it evenly to cover the entire surface.
Add the Peanut Butter Swirl: Drizzle the remaining 1/4 cup peanut butter over the chocolate layer. Use a knife or toothpick to create a marbled effect for a decorative touch.
Chill: Refrigerate the bars for at least 1 hour, or until the chocolate is set and the bars are firm.
Cut and Serve: Once set, lift the bars out of the pan using the parchment paper. Cut into squares and enjoy!
Serving Tips:
Portion Control: Cut the bars into small squares or rectangles to control portion sizes and make them easier to serve. Each bar contains about 180 kcal, making them a satisfying yet portion-controlled treat.
Serving Temperature: These bars are best served chilled or at room temperature. If they’ve been refrigerated, let them sit out for a few minutes before serving to allow them to soften slightly for a better texture.
Presentation: For a more elegant presentation, drizzle extra melted dairy-free chocolate or a sprinkle of sea salt over the top before serving. You can also serve them alongside fresh fruit for a balanced snack.
Storage Tips:
Refrigeration: Store the bars in an airtight container in the refrigerator. They will keep well for up to 2 weeks. The cool temperature helps maintain their shape and prevents the chocolate from melting.
Freezing: If you want to store the bars for a longer period, you can freeze them. Place the bars in a single layer on a baking sheet and freeze until solid. Transfer to an airtight container or freezer bag, separating layers with parchment paper. Frozen bars can be kept for up to 3 months. Thaw in the refrigerator before serving.
Avoiding Melting: If you live in a particularly warm climate, it’s essential to keep the bars chilled to prevent the chocolate from melting. You can also keep a small batch in the refrigerator and store the rest in the freezer to maintain freshness.
Portion Control: Consider wrapping individual bars in parchment paper or plastic wrap for easy grab-and-go snacks. This also helps keep them fresh and prevents them from sticking together.
Related Recipes:


