
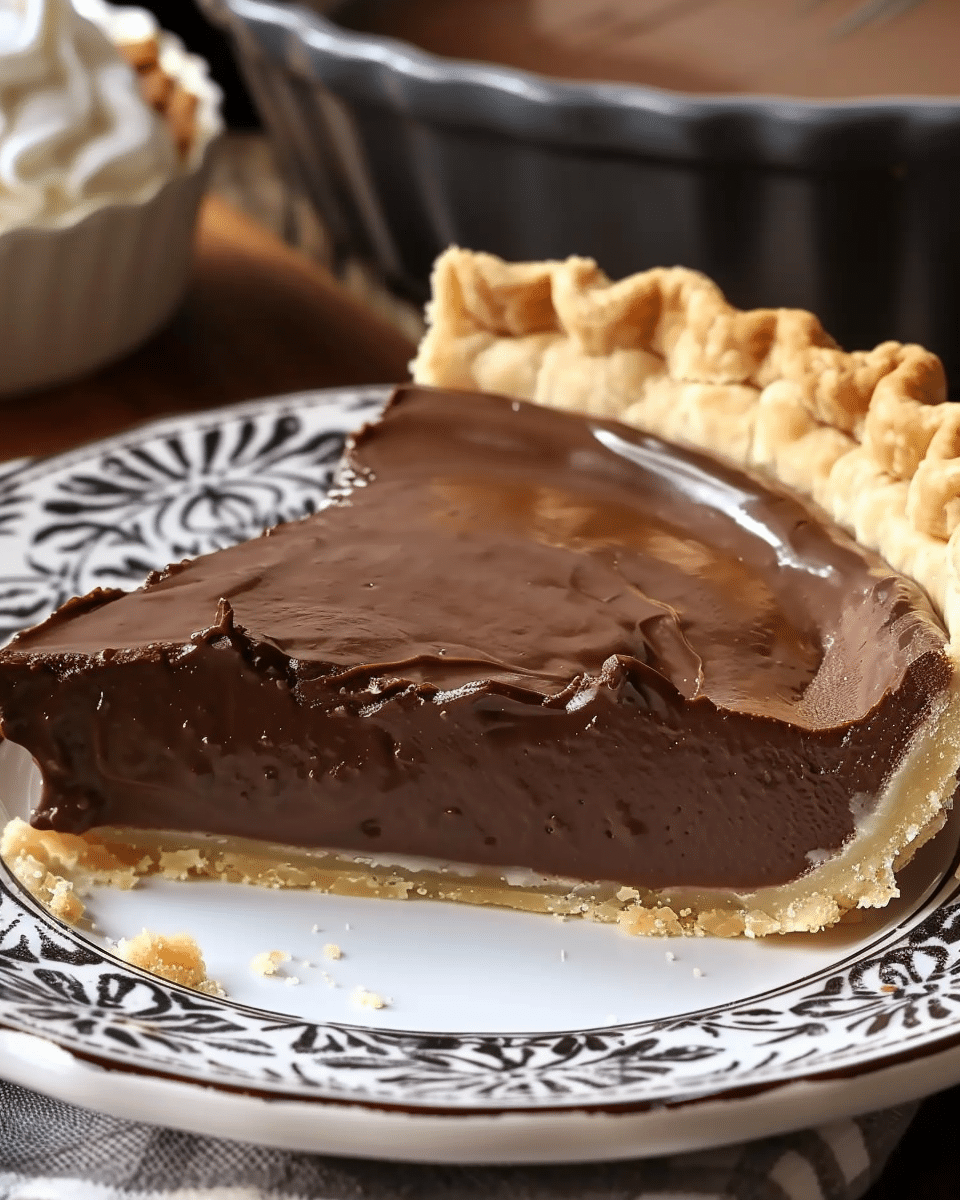
Old-Fashioned Chocolate Pie is a timeless dessert that’s sure to bring back memories of family gatherings and cozy celebrations. With its rich, velvety chocolate filling nestled in a buttery, flaky crust, this pie is the perfect way to end any meal on a sweet note. Whether you’re enjoying it after a holiday feast or simply indulging in a treat, this dessert is sure to satisfy every chocolate lover’s cravings.
Why You’ll Love This Recipe
I absolutely love this Old-Fashioned Chocolate Pie because it combines classic flavors in the most delicious way. The creamy, smooth chocolate filling is rich but not overpowering, and it sits perfectly in a buttery pie crust. There’s something about this dessert that feels so nostalgic and comforting. The whipped cream on top (if I choose to add it) brings a light, airy contrast to the rich filling, making each bite even more delightful. Plus, it’s surprisingly easy to make, despite its elegant appearance.
Ingredients
1 prepared pie crust (store-bought or homemade)
1 1/4 cups granulated sugar
1/4 cup unsweetened cocoa powder
1/4 teaspoon salt
2 1/2 cups whole milk
3 large egg yolks
2 tablespoons cornstarch
2 tablespoons unsalted butter
1 teaspoon vanilla extract
Whipped cream, for topping (optional)
(Tip: You’ll find the full list of ingredients and measurements in the recipe card below.)
Directions
I begin by preheating my oven to 350°F (175°C). If I’m using a homemade pie crust, I bake it according to the recipe instructions until golden brown, then set it aside to cool.
In a medium saucepan, I whisk together the sugar, cocoa powder, and salt.
Gradually, I add the milk to the dry ingredients while whisking constantly to prevent any lumps from forming.
In a separate bowl, I whisk together the egg yolks and cornstarch until smooth.
Slowly, I pour the egg mixture into the milk mixture, stirring constantly over medium heat.
I continue cooking the mixture while stirring until it thickens and starts to boil, which usually takes about 8-10 minutes.
Once thickened, I remove the saucepan from the heat and stir in the butter and vanilla extract until everything is smooth.
I pour the chocolate filling into the cooled pie crust and smooth the top with a spatula.
I let the pie cool completely at room temperature, then refrigerate it for at least 3 hours or overnight to allow it to set.
Before serving, I top the pie with whipped cream if desired.
Servings and timing
This recipe yields 8 servings, making it perfect for a small gathering or to enjoy throughout the week.
Prep Time: 15 minutes
Cooking Time: 10 minutes
Total Time: 3 hours 25 minutes
Variations
While I love the classic version of this pie, there are a few variations I could try depending on what I’m in the mood for:
Dark Chocolate Pie: If I prefer a deeper, more intense chocolate flavor, I could use dark chocolate instead of cocoa powder for the filling.
Peanut Butter Chocolate Pie: I could swirl in some peanut butter to the chocolate filling for a fun twist on the traditional recipe.
Banana Chocolate Pie: I could layer some sliced bananas in the pie crust before adding the chocolate filling for a banana cream pie-inspired variation.
Nutty Crust: For an extra crunch, I could use a pie crust made with crushed nuts, like pecans or walnuts.
Storage/Reheating
I typically store leftover pie in the refrigerator, covering it with plastic wrap or aluminum foil. It keeps well for about 3-4 days. If I want to serve it again later, I simply bring it out of the fridge and allow it to come to room temperature before serving. If I prefer a chilled slice, it’s just as delicious straight from the fridge!
Related Recipes:
FAQs
Can I make the pie crust from scratch?
Yes! If I enjoy making my own pie crust, I can easily prepare one from scratch. Simply use my favorite pie crust recipe and follow the baking instructions until it’s golden and fully cooled.
Can I use a different type of milk?
I can absolutely substitute a different type of milk. Whole milk gives the best creamy texture, but I can use 2% milk or a non-dairy alternative like almond or oat milk if needed. The texture may vary slightly with non-dairy options, but it will still taste great.
How do I know when the filling has thickened properly?
I watch for the mixture to become noticeably thicker and start bubbling gently. I keep stirring while it heats up, and when it’s thick enough to coat the back of a spoon, it’s ready to be removed from the heat.
Can I make this pie ahead of time?
Yes! In fact, I often make this pie the night before I plan to serve it. I let it chill in the refrigerator for at least 3 hours or overnight to ensure the filling sets perfectly.
Can I freeze this pie?
While I generally prefer to enjoy it fresh, I can freeze this pie for up to 1-2 months. To freeze, I wrap the pie tightly in plastic wrap and then foil. When I’m ready to serve it, I let it thaw in the refrigerator for several hours or overnight.
Conclusion
This Old-Fashioned Chocolate Pie is a true classic that never disappoints. It’s rich, creamy, and incredibly satisfying, making it the perfect choice for any occasion. Whether I’m serving it at a family gathering or just enjoying a quiet dessert at home, I know I’ll always enjoy the comforting, indulgent flavors of this timeless treat. I love how simple the recipe is, but the results feel so special and indulgent.
📖 Recipe:
Print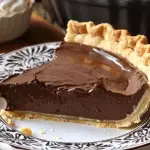
Old-Fashioned Chocolate Pie
- Total Time: 3 hours 25 minutes
- Yield: 8 servings
- Diet: Vegetarian
Description
This Old-Fashioned Chocolate Pie is the ultimate chocolate dessert, with a rich, creamy filling nestled in a buttery, flaky crust. Perfect for family gatherings or cozy nights, this pie is a nostalgic treat every chocolate lover will adore. Whether you add whipped cream or enjoy it plain, this indulgent dessert is easy to make and guarantees a satisfying experience for all.
Ingredients
1 prepared pie crust (store-bought or homemade)
1 1/4 cups granulated sugar
1/4 cup unsweetened cocoa powder
1/4 teaspoon salt
2 1/2 cups whole milk
3 large egg yolks
2 tablespoons cornstarch
2 tablespoons unsalted butter
1 teaspoon vanilla extract
Whipped cream (optional, for topping)
Instructions
-
Preheat oven to 350°F (175°C). If using a homemade pie crust, bake it until golden brown and set aside to cool.
-
In a medium saucepan, whisk together sugar, cocoa powder, and salt.
-
Gradually whisk in milk to the dry ingredients, ensuring no lumps form.
-
In a separate bowl, whisk together egg yolks and cornstarch until smooth.
-
Slowly pour egg mixture into milk mixture while stirring constantly over medium heat.
-
Cook while stirring until thickened and boiling, about 8-10 minutes.
-
Remove from heat and stir in butter and vanilla until smooth.
-
Pour filling into cooled pie crust and smooth the top.
-
Allow the pie to cool completely, then refrigerate for at least 3 hours or overnight.
-
Before serving, top with whipped cream if desired.
Notes
Use dark chocolate for a more intense flavor.
Add peanut butter to the filling for a delicious twist.
For a banana variation, layer sliced bananas in the crust before adding the filling.
Store leftovers in the fridge for 3-4 days, and enjoy chilled or at room temperature.
- Prep Time: 15 minutes
- Cook Time: 10 minutes
- Category: Dessert
- Method: Stovetop, Baking
- Cuisine: American
Nutrition
- Serving Size: 8 servings
- Calories: 350 kcal


