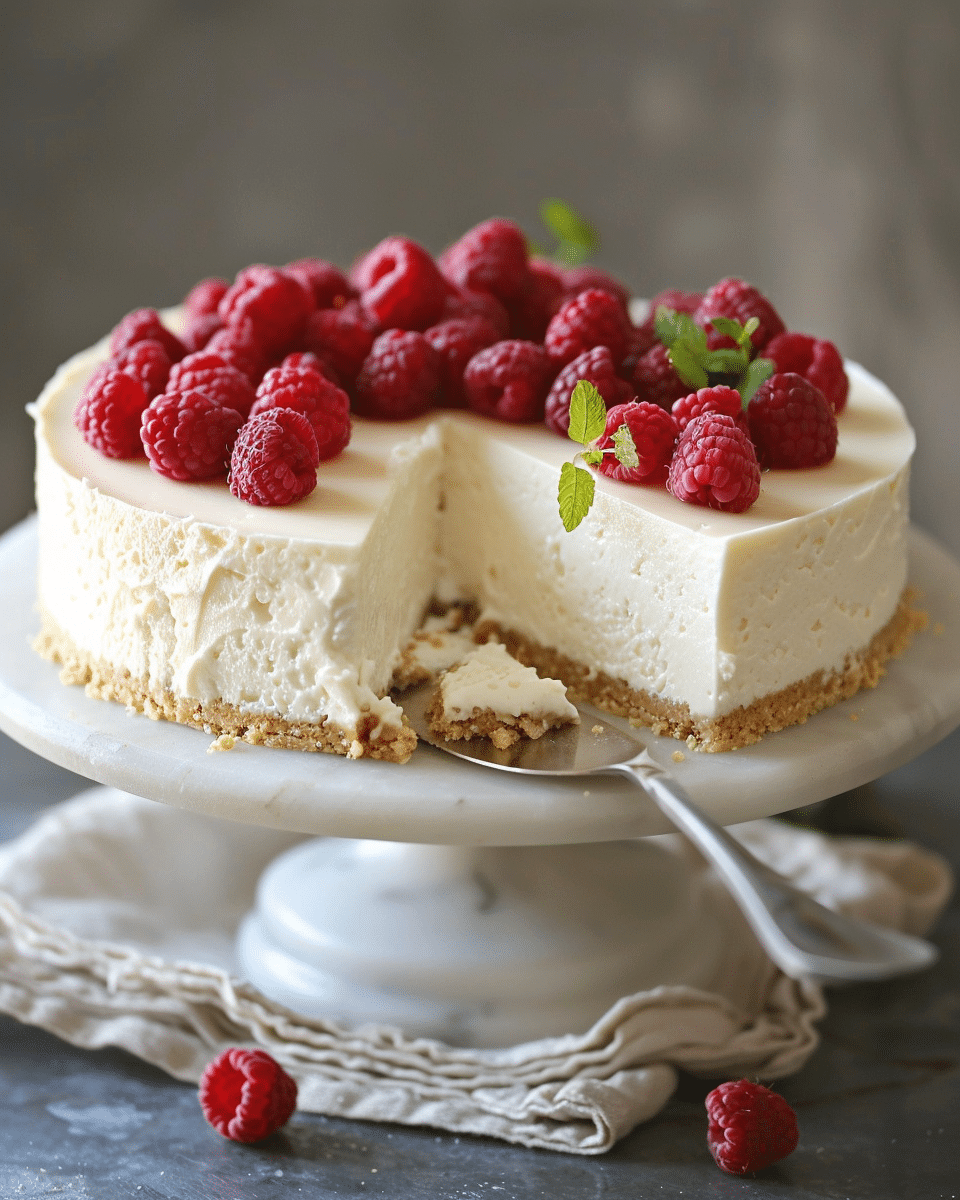
Are you ready to embark on a culinary journey that combines the nostalgic delight of Rice Krispie treats with the creamy decadence of cheesecake? Look no further than our irresistible Rice Krispie Treat Cheesecake recipe! This delightful dessert is a fusion of crunchy goodness and smooth indulgence, guaranteed to satisfy your sweet cravings and evoke cherished memories of childhood.
Ingredients:
For the Crust:
3 cups Rice Krispies cereal
1/4 cup unsalted butter
1/3 cup marshmallow fluff
For the Filling:
4 cups cream cheese, softened
1 cup granulated sugar
1 teaspoon vanilla extract
4 large eggs
1 cup sour cream
For the Topping:
2 cups Rice Krispies cereal
1/4 cup unsalted butter
1/2 cup marshmallow fluff
Additional marshmallows, for garnish
Melted chocolate, for drizzle
Directions:
- Prepare the Crust:
- In a large saucepan over low heat, melt the butter and marshmallow fluff together.
- Stir in the Rice Krispies cereal until well coated.
- Press the mixture firmly into the bottom of a 9-inch springform pan and chill.
- Make the Cheesecake Filling:
- Using a mixer, beat the cream cheese, sugar, and vanilla until smooth.
- Add the eggs one at a time, mixing well after each addition.
- Stir in the sour cream until fully incorporated.
- Bake the Cheesecake:
- Pour the prepared filling over the chilled crust.
- Bake at 325°F for approximately 1 hour, or until the cheesecake is set.
- Allow the cheesecake to cool, then refrigerate for at least 4 hours to ensure optimal texture.
- Prepare the Topping:
- Repeat the crust preparation process using Rice Krispies, butter, and marshmallow fluff.
- Spread the topping evenly over the chilled cheesecake.
- Garnish with additional marshmallows and drizzle with melted chocolate for an extra touch of decadence.
Nutritional Information:
- Prep Time: 30 minutes
- Cooking Time: 1 hour
- Total Time: 5 hours 30 minutes (includes chilling)
- Calories: 580 kcal
- Servings: 12
Related Recipes:
- No Bake Cookie Dough Cheesecake
- BANANA CREAM CHEESECAKE BARS
- How To Make Cheesecake With Cream Cheese and Fluff?
- White Chocolate Peanut Butter Cheesecake
Serving Tips:
- Garnish Creatively: When serving this Rice Krispie Treat Cheesecake, get creative with your garnishes. Sprinkle extra Rice Krispies on top for added crunch, drizzle melted chocolate in a decorative pattern, or add a dollop of whipped cream for an extra touch of indulgence.
- Slice with Care: To ensure clean, neat slices, use a sharp knife dipped in hot water and wiped dry between cuts. This will help prevent the cheesecake from sticking to the knife, resulting in beautifully presented servings.
- Accompaniments: Pair each slice of cheesecake with a scoop of vanilla ice cream or a drizzle of caramel sauce for a decadent dessert experience. Fresh berries or a dusting of powdered sugar also make delightful accompaniments.
- Presentation: Elevate the presentation of your Rice Krispie Treat Cheesecake by serving it on a decorative platter or cake stand. Add a sprig of mint or a few edible flowers for a pop of color and elegance.
Storage Tips:
- Refrigeration: Due to its creamy filling, this cheesecake should be stored in the refrigerator. Cover the cheesecake securely with plastic wrap or aluminum foil to prevent it from absorbing any unwanted flavors or odors.
- Long-Term Storage: If you have leftovers (though it’s hard to imagine there will be any!), store individual slices in airtight containers in the refrigerator for up to 3-4 days. Be sure to consume them within this timeframe for the best taste and texture.
- Freezing: While cheesecake can be frozen, the Rice Krispie topping may lose its crunchiness upon thawing. If you choose to freeze leftovers, wrap individual slices tightly in plastic wrap and aluminum foil before placing them in a freezer-safe container. Thaw overnight in the refrigerator before serving.
- Quality Check: Before serving any leftover cheesecake, check for any signs of spoilage such as off odors, mold growth, or changes in texture. If the cheesecake appears or smells off, it’s best to discard it to ensure food safety.
Conclusion
With its perfect balance of creamy richness and crunchy nostalgia, this Rice Krispie Treat Cheesecake is a dessert dream come true. Whether you’re a fan of classic cheesecake, a lover of Rice Krispie treats, or simply someone who enjoys indulging in gourmet delights, this recipe is sure to satisfy your sweet cravings. So gather your ingredients, preheat your oven, and get ready to embark on a culinary adventure that will delight your senses and warm your heart.
📖 Recipe
Print
Rice Krispie Treat Cheesecake
- Total Time: 5 hours 30 minutes (includes chilling)
- Yield: 12 servings
- Diet: Vegetarian
Description
Indulge in the perfect blend of creamy cheesecake and crispy Rice Krispies with this irresistible Rice Krispie Treat Cheesecake recipe. Elevate your dessert game with layers of crunchy delight and velvety smoothness, guaranteed to satisfy every sweet tooth.
Ingredients
For the Crust:
3 cups Rice Krispies cereal
1/4 cup unsalted butter
1/3 cup marshmallow fluff
For the Filling:
4 cups cream cheese, softened
1 cup granulated sugar
1 teaspoon vanilla extract
4 large eggs
1 cup sour cream
For the Topping:
2 cups Rice Krispies cereal
1/4 cup unsalted butter
1/2 cup marshmallow fluff
Additional marshmallows, for garnish
Melted chocolate, for drizzle
Instructions
- Prepare the Crust: Melt butter and marshmallow fluff in a saucepan. Stir in Rice Krispies until coated. Press into a springform pan and chill.
- Make the Cheesecake Filling: Beat cream cheese, sugar, and vanilla. Add eggs one at a time, then stir in sour cream. Pour over crust and bake.
- Prepare the Topping: Repeat the crust process with Rice Krispies, butter, and marshmallow fluff. Spread over the chilled cheesecake. Garnish with marshmallows and melted chocolate.
Notes
For a twist, try using flavored marshmallow fluff or adding crushed nuts to the topping.
Ensure the cheesecake cools completely before chilling to avoid condensation on the surface.
Customize the topping with your favorite chocolate drizzle or sprinkles for a personal touch.
- Prep Time: 30 minutes
- Cook Time: 1 hour
- Category: Desserts
- Method: Baking
- Cuisine: Fusion


