
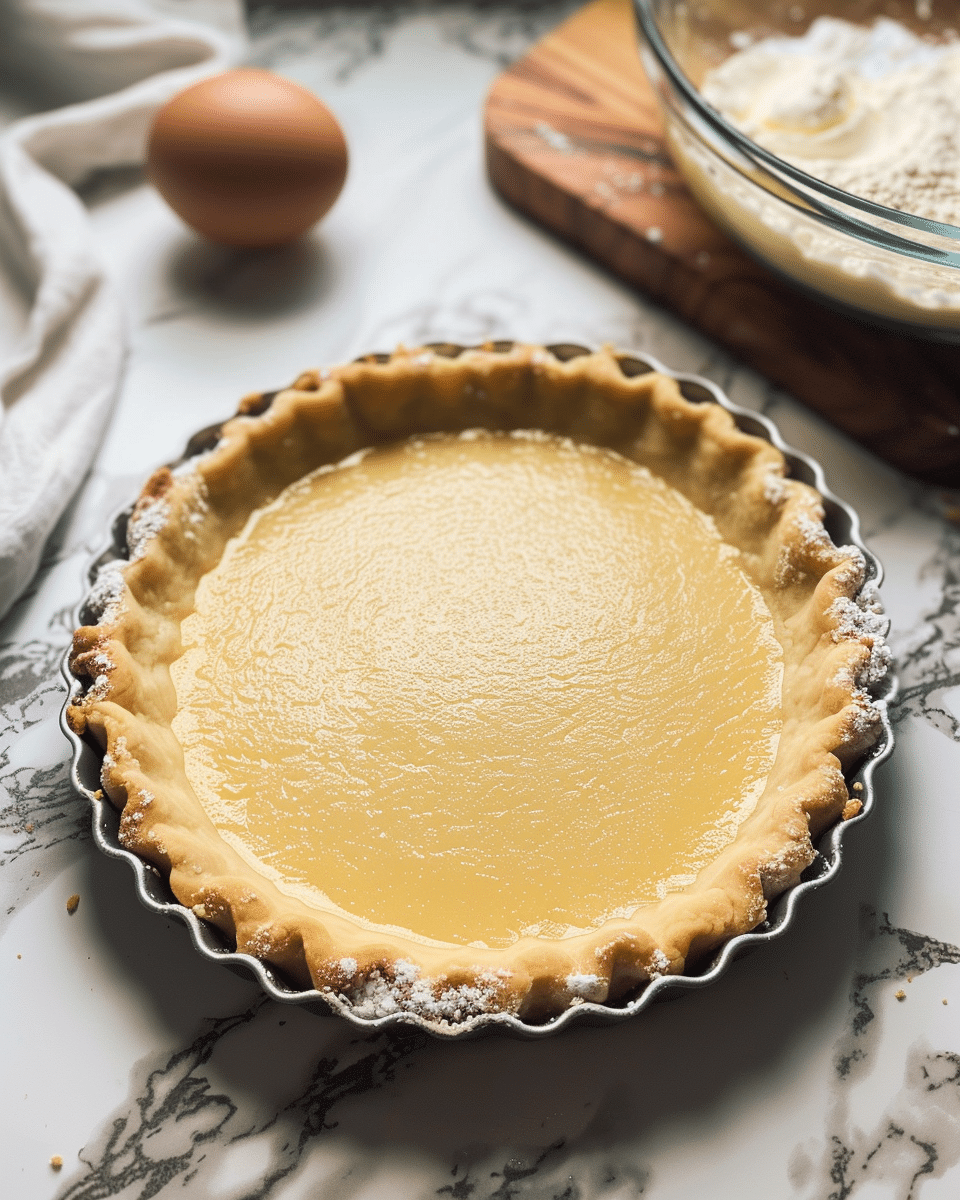
Indulge in the delightful creation of a homemade sweet tart crust that serves as the perfect canvas for your culinary imagination. This easy-to-follow recipe guarantees a buttery, flaky crust that complements any filling, from tangy lemon curd to luscious chocolate ganache. Elevate your dessert game and impress your guests with this versatile and foolproof sweet tart crust recipe.
Ingredients:
1 ½ cups (180 g/6.3 oz) all-purpose flour
½ cup (55 g/2 oz) powdered sugar (or ¼ cup granulated sugar)
¼ teaspoon salt
½ cup (1 stick/115 g) cold butter, cut into small cubes
1 large egg
½ teaspoon vanilla extract (optional)
Directions:
Prepare the Dry Ingredients: In a large mixing bowl, combine the all-purpose flour, powdered sugar, and salt. Mix well to ensure an even distribution of the sugar and salt.
Cut in the Butter: Add the cold butter cubes to the flour mixture. Using a pastry cutter or your fingertips, cut the butter into the flour until the mixture resembles coarse crumbs with pea-sized pieces of butter.
Add Wet Ingredients: In a small bowl, whisk together the egg and vanilla extract (if using). Pour the egg mixture into the flour and butter mixture. Use a fork or your hands to mix until the dough begins to come together. If the dough is too dry, add a teaspoon of cold water at a time until it forms a cohesive dough.
Form the Dough: Turn the dough out onto a lightly floured surface and knead gently just until it forms a smooth ball. Be careful not to overwork the dough. Flatten the dough into a disc, wrap it in plastic wrap, and refrigerate for at least 30 minutes to chill.
Roll Out the Dough: Once chilled, remove the dough from the refrigerator and let it sit for a few minutes to soften slightly. On a lightly floured surface, roll out the dough to fit your tart pan, about 1/8 inch thick.
Transfer to Tart Pan: Carefully transfer the rolled dough to the tart pan, pressing it into the bottom and up the sides. Trim any excess dough by running a rolling pin over the top of the pan or using a knife.
Serving Tips:
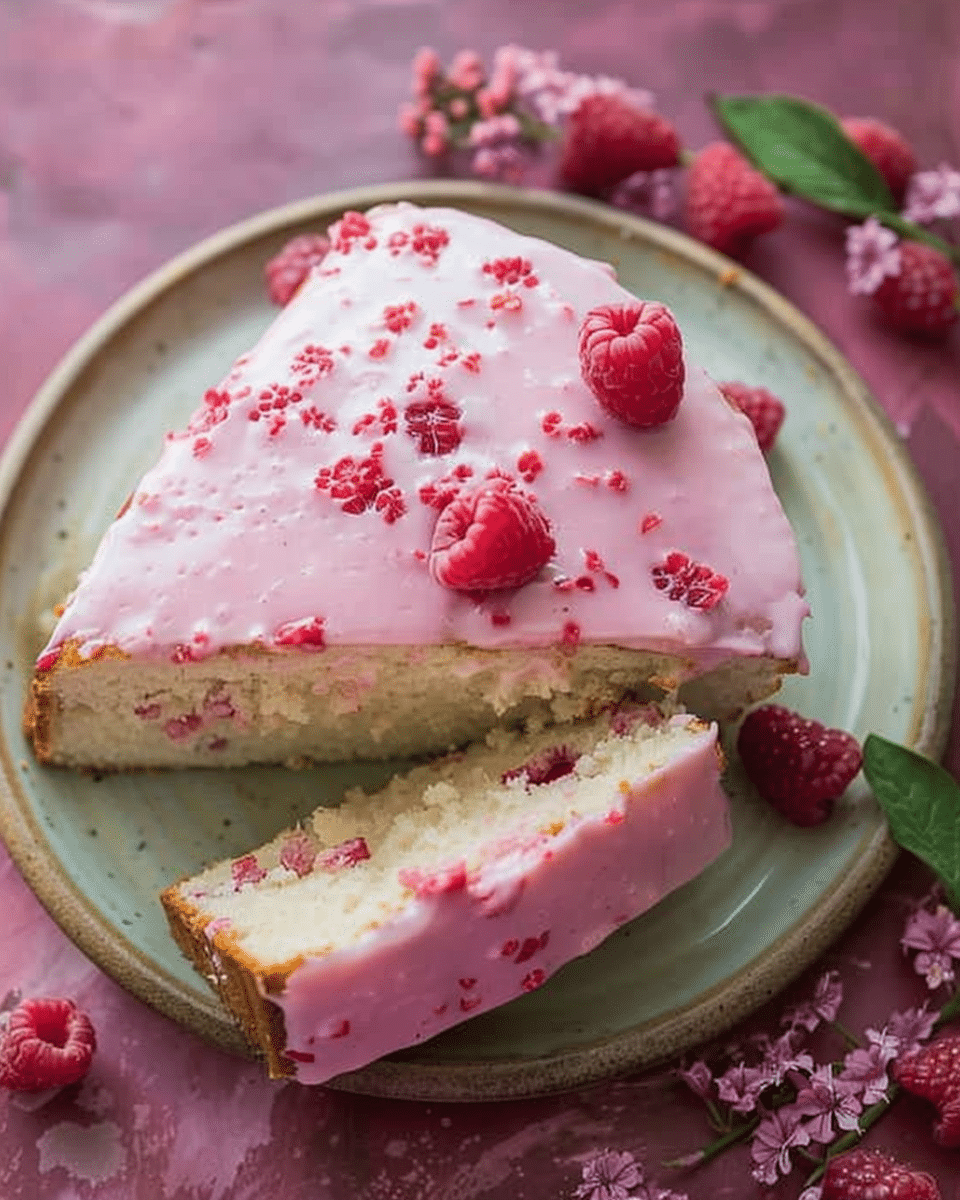
Fresh Fruit Tarts: Fill your sweet tart crust with a colorful array of fresh fruits such as strawberries, blueberries, kiwi, and raspberries for a refreshing and vibrant dessert. Arrange the fruits in a visually appealing pattern on top of a layer of pastry cream or whipped cream for an extra indulgent treat.
Classic Lemon Tart: Whip up a zesty lemon filling and pour it into your pre-baked sweet tart crust for a tangy and satisfying dessert. Dust the top with powdered sugar and garnish with lemon slices or zest for an elegant presentation.
Chocolate Ganache Tart: Indulge your chocolate cravings by spreading a smooth and decadent chocolate ganache into your baked sweet tart crust. Top with chopped nuts, sea salt flakes, or fresh berries for added texture and flavor.
Mini Tartlets: Use mini tart pans or a muffin tin to create adorable individual tartlets. Fill each tartlet with your favorite filling, such as pastry cream, fruit preserves, or Nutella, for a delightful bite-sized treat perfect for parties or gatherings.
Storage Tips:
Refrigeration: Store any leftover sweet tart crust in an airtight container in the refrigerator for up to 3-4 days. This will help maintain its freshness and prevent it from drying out.
Freezing: If you don’t plan on using the crust immediately, you can freeze it for future use. Wrap the crust tightly in plastic wrap or aluminum foil and place it in a freezer-safe bag or container. It can be stored in the freezer for up to 2-3 months. Thaw the crust in the refrigerator overnight before using it.
Pre-baking: If you prefer a crispy crust for your tart, you can pre-bake the crust and store it at room temperature in an airtight container for up to 1-2 days. This will allow you to prepare the crust in advance and save time when assembling your tart later.
Related Recipes:
FAQs:
Can I use a food processor to make the sweet tart crust dough?
Absolutely! Using a food processor can expedite the process of making the sweet tart crust dough. Simply pulse the dry ingredients together, then add the cold butter cubes and pulse until the mixture resembles coarse crumbs. Finally, add the egg and vanilla extract and pulse until the dough begins to come together. Be cautious not to over-process the dough, as it may result in a tough crust.
Can I substitute whole wheat flour for all-purpose flour in this recipe?
While you can substitute whole wheat flour for all-purpose flour, keep in mind that it will alter the texture and flavor of the crust. Whole wheat flour tends to yield a denser and nuttier crust compared to all-purpose flour. If you prefer a lighter and more delicate crust, it’s best to stick with all-purpose flour. However, feel free to experiment with different flour combinations to suit your taste preferences.
How can I prevent my sweet tart crust from shrinking during baking?
To prevent your sweet tart crust from shrinking during baking, it’s essential to properly chill the dough before rolling it out and lining the tart pan. Additionally, make sure to press the dough firmly into the bottom and up the sides of the pan without stretching it. Docking the crust (pricking the surface with a fork) before baking can also help release any trapped air and minimize shrinkage. Finally, blind baking the crust by lining it with parchment paper and filling it with pie weights or dried beans before baking can further help maintain its shape.
Can I make the sweet tart crust dough ahead of time?
Yes, you can prepare the sweet tart crust dough ahead of time and store it in the refrigerator or freezer until ready to use. After forming the dough into a disc, wrap it tightly in plastic wrap and refrigerate for up to 2 days or freeze for up to 2 months. When you’re ready to use the dough, allow it to thaw in the refrigerator overnight if frozen, then proceed with rolling it out and baking as directed. This make-ahead option can save time and make dessert preparation more convenient for special occasions or busy schedules.
Conclusion:
Now that you’ve mastered the art of making a sweet tart crust, the possibilities are endless! Whether you fill it with fresh fruit, silky custard, or decadent chocolate ganache, this crust will provide the perfect foundation for your culinary creations. Impress your friends and family with your baking skills and enjoy the delicious results of your homemade sweet tart crust. Happy baking!
📖 Recipe:
Print
Sweet Tart Crust
5 Stars 4 Stars 3 Stars 2 Stars 1 Star
No reviews
- Author: Isabella
- Total Time: 1 hour (including chilling)
- Yield: One 9-inch tart crust
- Diet: Vegetarian
Description
Are you ready to elevate your dessert game with a homemade sweet tart crust that will have everyone begging for seconds? Look no further! This easy-to-follow recipe will guide you through creating a buttery, flaky crust that serves as the perfect base for any sweet tart creation. Whether you’re a seasoned baker or a novice in the kitchen, this recipe is sure to impress.
Ingredients
1 ½ cups (180 g/6.3 oz) all-purpose flour
½ cup (55 g/2 oz) powdered sugar (or ¼ cup granulated sugar)
¼ teaspoon salt
½ cup (1 stick/115 g) cold butter, cut into small cubes
1 large egg
½ teaspoon vanilla extract (optional)
Instructions
- Combine the dry ingredients in a mixing bowl.
- Cut in the cold butter until the mixture resembles coarse crumbs.
- Whisk together the egg and vanilla extract, then add to the flour mixture.
- Mix until the dough comes together, then refrigerate.
- Roll out the chilled dough and line a tart pan.
- Trim excess dough and bake until golden brown.
Notes
For a crispier crust, pre-bake before adding filling.
Customize with your favorite fillings and toppings.
Ensure butter is cold for a flaky texture.
- Prep Time: 15 minutes
- Cook Time: 15 minutes
- Category: Dessert
- Method: Baking
- Cuisine: International
Nutrition
- Serving Size: One 9-inch tart crust


